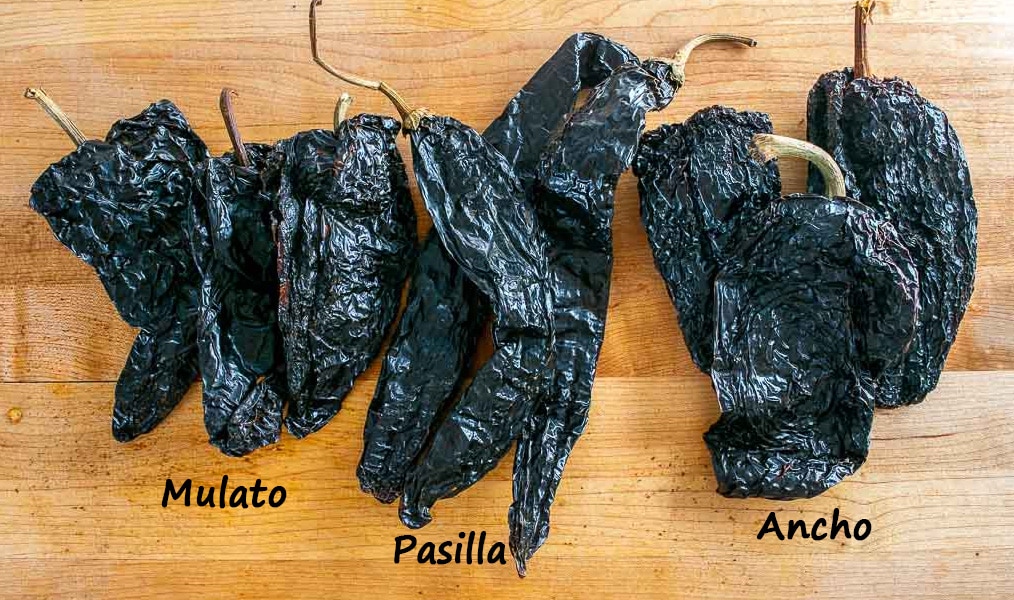
Ever since making Mole Poblano I've been enamored with the chile combo used in that recipe: Anchos, Mulatos, and Pasillas.
So it was inevitable that those chiles would make their way into a batch of Birria right?!
How To Make Dark Birria
Yes, this Dark Birria is unconventional and it may get a ticket from the Authentic Police, but it's got such a rich, rustic flavor that I think it's worth a go when you've got these chiles on hand.
Keep in mind there's a more traditional Birria de Res recipe on the site and that will be our starting point for this batch. That version uses Anchos, New Mexicans, and Chipotles, and those chiles will be easier to track down if it's your first run at Birria.
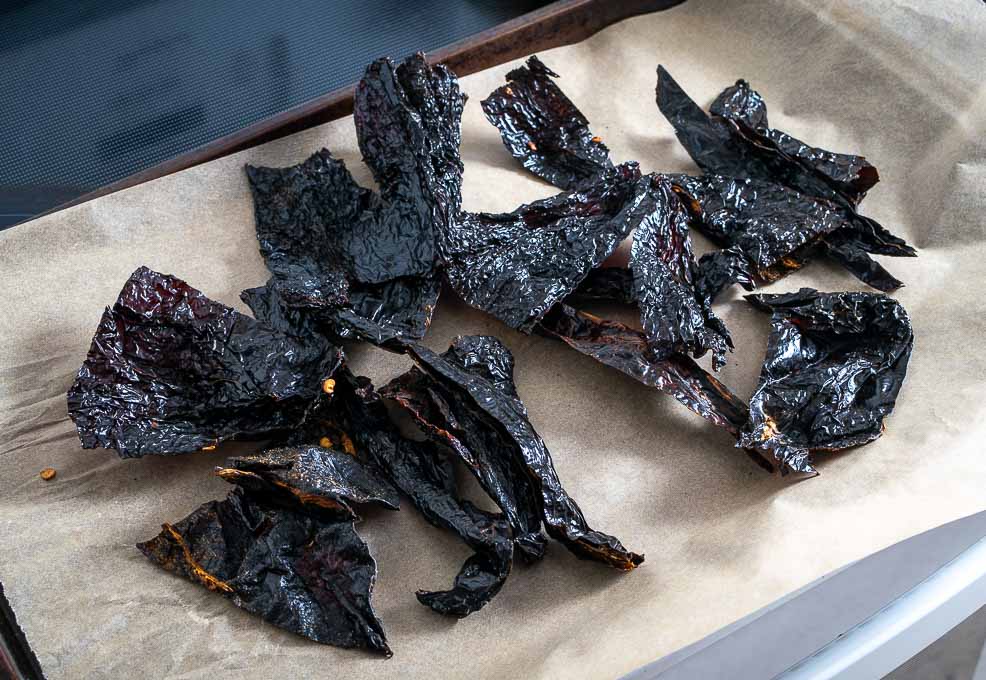
But for this Dark Birria we'll be using the Holy Trinity of dried chiles:
So in the above pic I'm using:
3 Mulato chiles
3 Pasilla chiles
3 Ancho chiles
This combo was a recent revelation for me -- it's a rich, complex flavor with sweetness from the Anchos, and some depth and hints of smokiness from the Mulatos and Pasillas. Testing Chile Combos For Mole Sauces.
If you're new to Mulatos you'll find that they look identical to Anchos in dried form. Once they're reconstituted the Anchos will have a reddish tint and the Mulatos will look brownish.
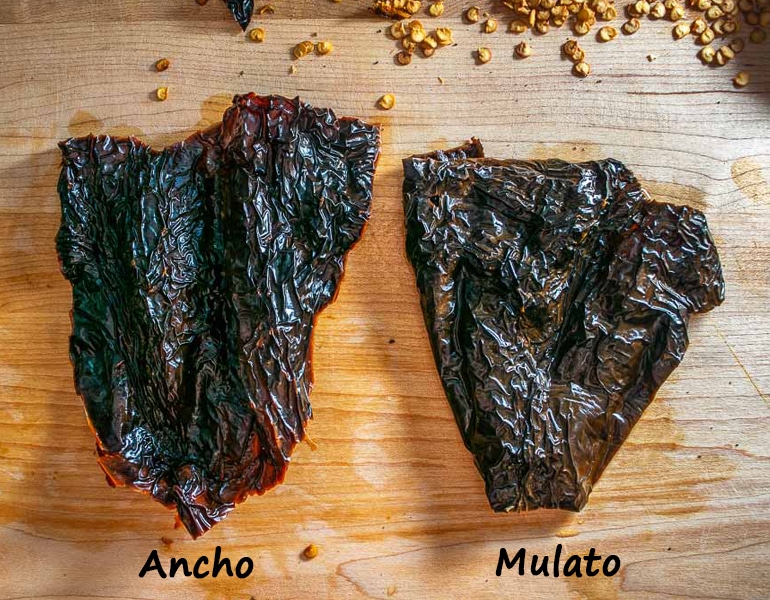
They both start life as a Poblano, but Mulatos are left on the vine to ripen a bit longer than Anchos -- this gives them a bigger, more complex flavor. I think they taste less fruity than Anchos with hints of smoky licorice. More info on Mulato chiles.
Note: it's tough for me to find Mulatos locally so I usually buy them online. For buying options see Where To Buy Dried Chiles Online.
To start, we'll wipe off any dusty crevasses on the chiles and then de-stem and de-seed them. Don't worry about getting rid of every last seed though.
I usually wake the chiles up in the oven for 1-2 minutes, but you can always flash roast them in a skillet for 15-30 seconds per side.
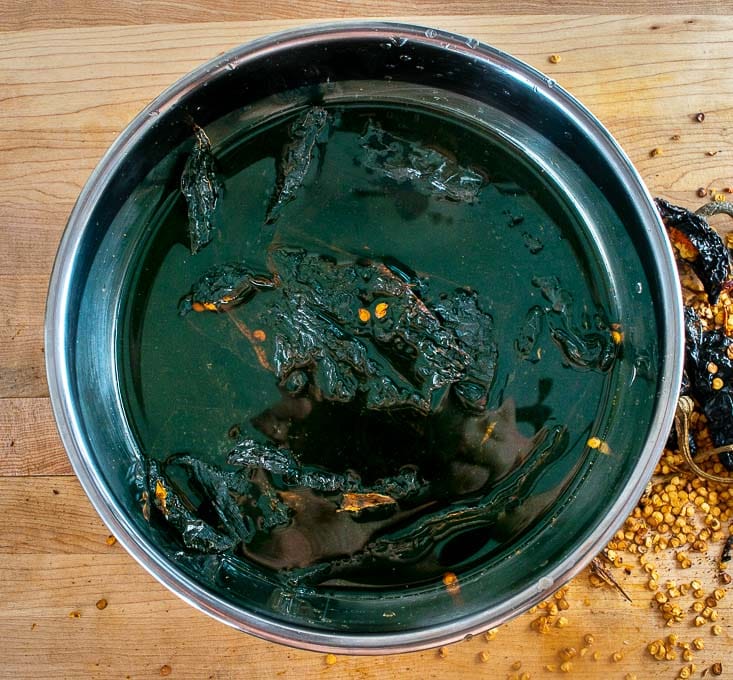
Then we'll cover them with hot tap water and let them reconstitute for 20-30 minutes.
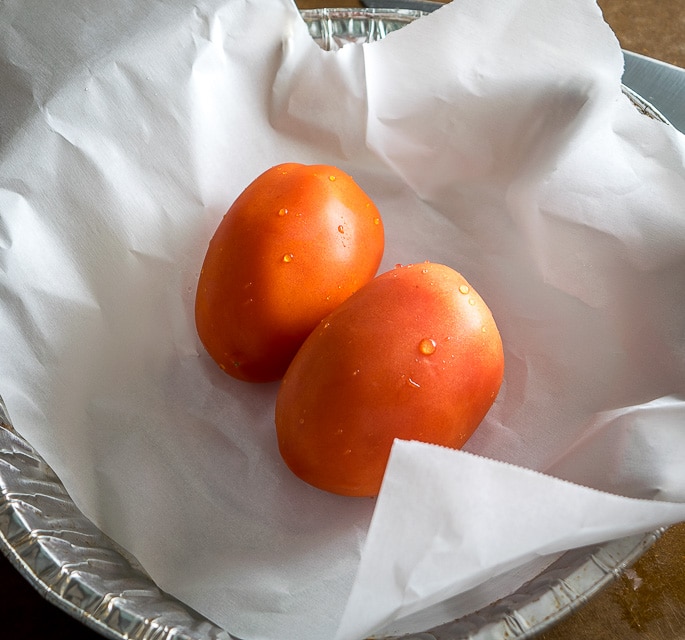
To keep the chiles' flavor at the forefront I used less tomato than the traditional Birria recipe.
So I plopped 2 tomatoes in the oven (instead of 4) and let them roast until I needed them for the sauce.
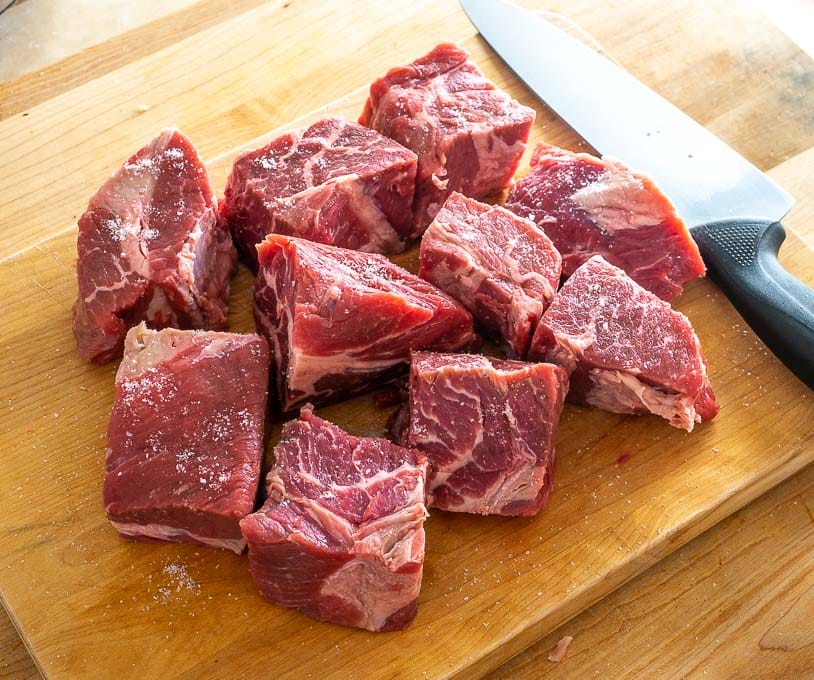
For the beef I used 3 lbs. of chuck roast:
Brisket would also be a good choice for this recipe. Best beef cuts for stewing.
Both of those cuts prefer low-and-slow cooking so we'll give this batch a few hours in the slow cooker, but keep in mind that you can always simmer on the stovetop for an equally good result.
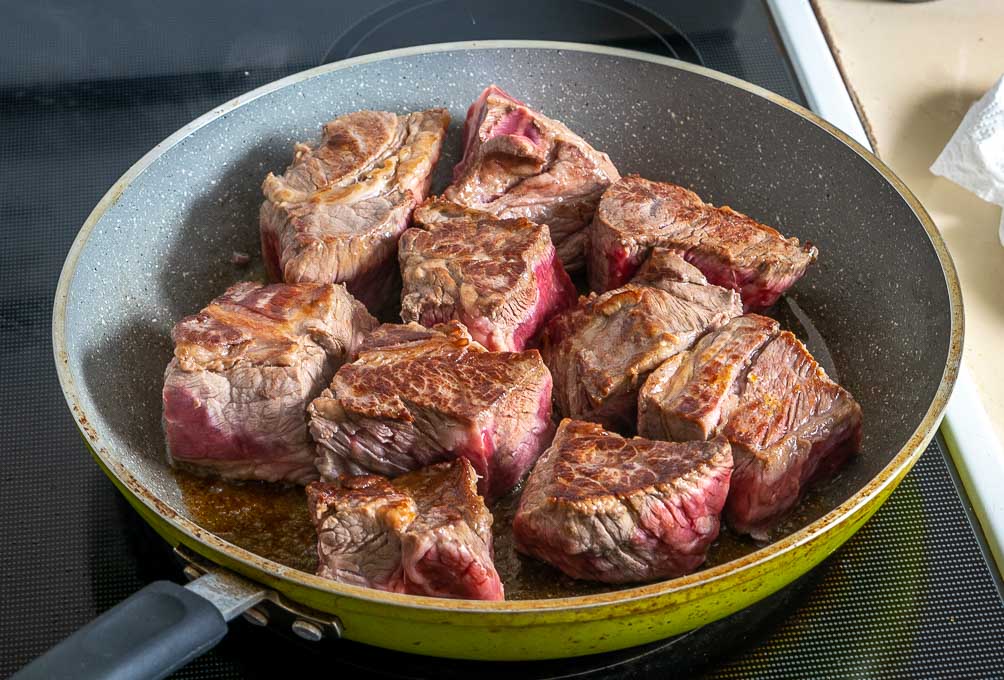
Once the meat is chunked we'll give it a good salting and sear it on all sides -- this searing step will add in some extra flavor.
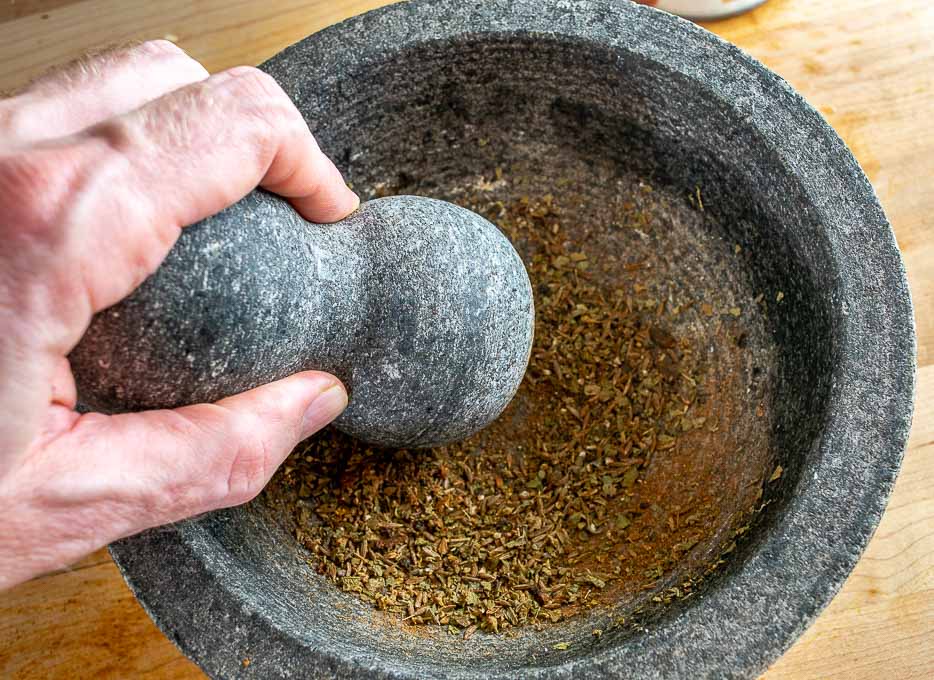
As the meat sears you can gather the spices. For this batch I used:
1 teaspoon cumin seeds
2 teaspoons Mexican oregano What is Mexican Oregano?
4 whole cloves (or pinch of ground clove)
1/8 teaspoon cinnamon
1/4 teaspoon black peppercorns
I gave all this a crush in the molcajete, but this is optional so feel free to use powdered spices if that's all you have.
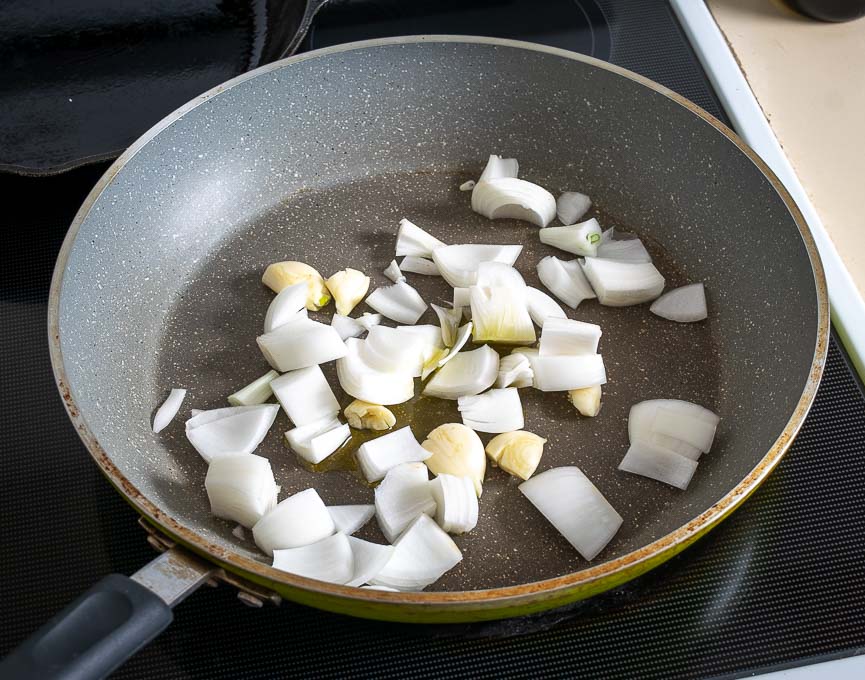
We'll also quickly saute some onion and garlic to create additional flavor in the Birria sauce.
Roughly chop a small onion and cook over medium heat in a glug of oil until softened. Since all of this is getting blended I usually just plop the whole, peeled garlic cloves in with the onion.
Once the beef is seared on all sides you can put the beef chunks in the slow cooker (or stewing pot).
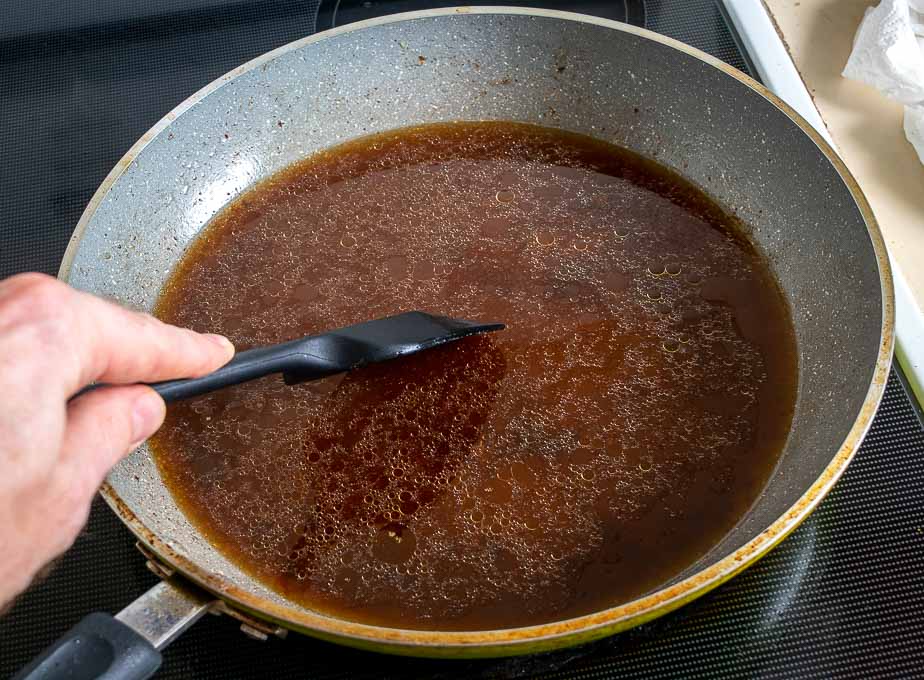
I usually deglaze the meat pan to soak up all the leftover bits of flavor. Simply add two cups of stock to the pan and bring it to a simmer, stirring regularly to release any bits of fond.
Add this liquid to a blender along with:
the roasted tomatoes
the drained, reconstituted chiles
the onion-garlic mixture
the spice mixture
salt (I added 2 teaspoons)
Give it a whirl and take a taste.
Hello Dark Birria sauce?!!
Note that the salt amount you use might be different. I'm using this Better Vegetable Stock for the liquid and it doesn't have any salt in it. If you're using store-bought stock that's heavy in sodium then you won't need to add as much.
Also note that the chiles' soaking liquid can be used in place of stock for an even more rustic batch, so it's worth taking a taste of the liquid after the chiles have reconstituted. It usually tastes bitter to me so I use stock to liquefy the sauce.
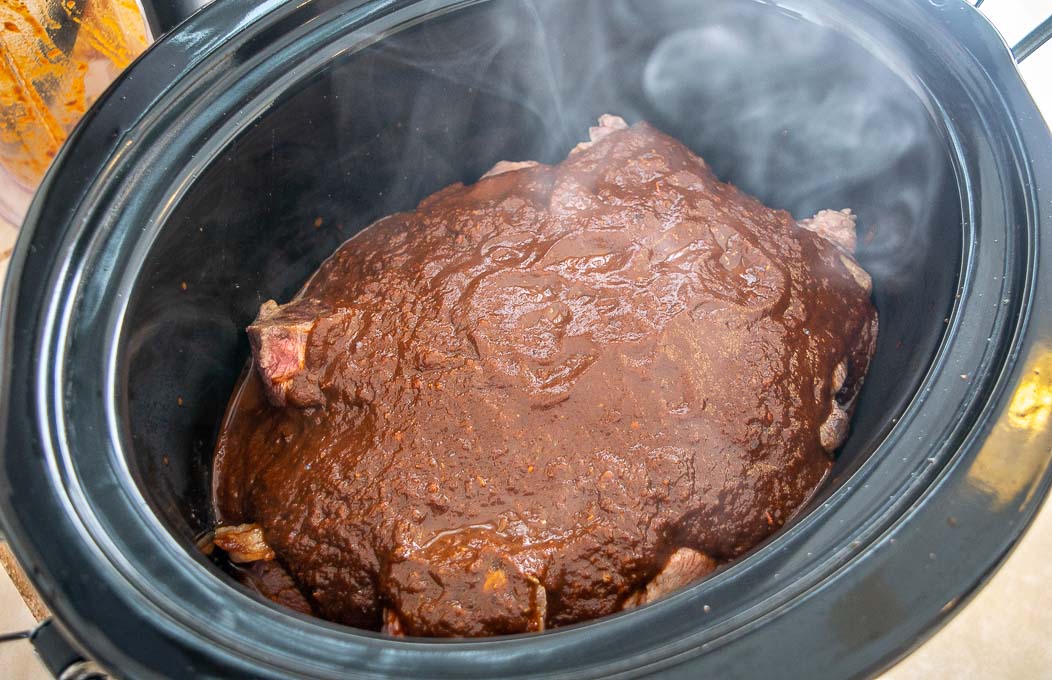
Cover the beef chunks with your sauce and splash a little liquid in the blender to get any last bits clinging to the sides.
The meat should be mostly submerged in the sauce, if not feel free to add another splash of stock.
Slow cook on low for 4-6 hours. Alternatively, you can simmer it covered on the stovetop for 2-3 hours or until the beef is fall-apart tender.
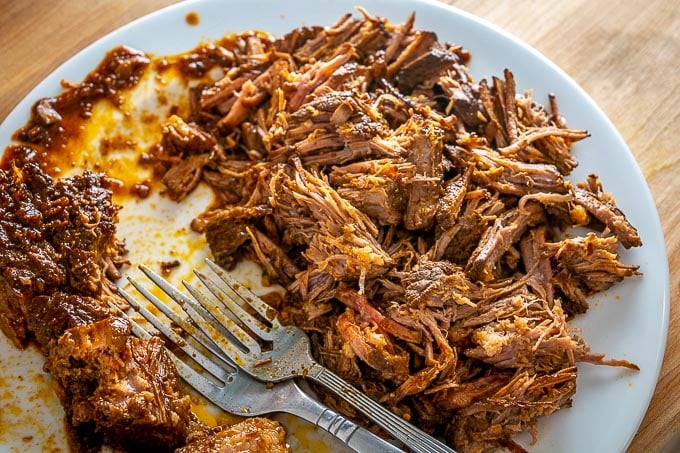
Once cooked you can shred the beef using a couple forks.
Keep in mind that the flavor of the sauce won’t penetrate into the beef chunks as much as you might think despite living together for a few hours. Rather, the flavor of the beef imparts itself into the sauce, so adding the sauce back into the shredded beef is the key to Birria!
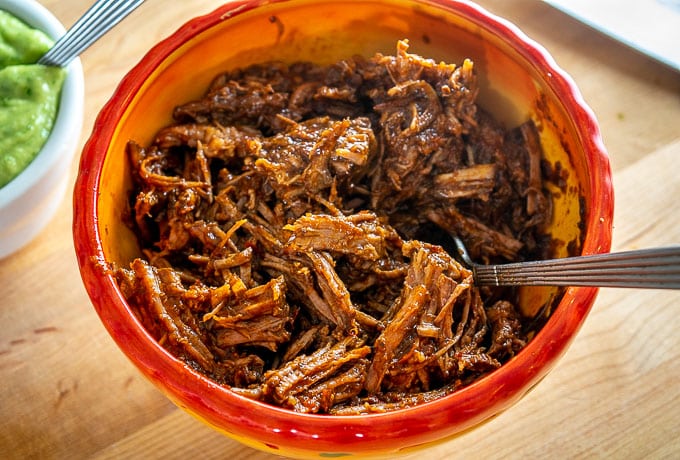
You could just plop all the shredded beef back into the sauce, but this will give you a goopy batch so I usually put the beef in a separate bowl and add just enough sauce to thoroughly coat it, keeping the leftover sauce separate.
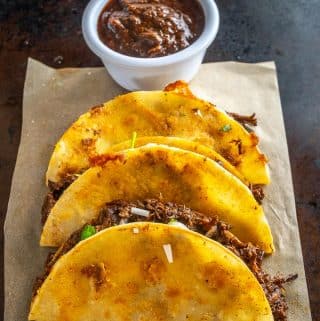
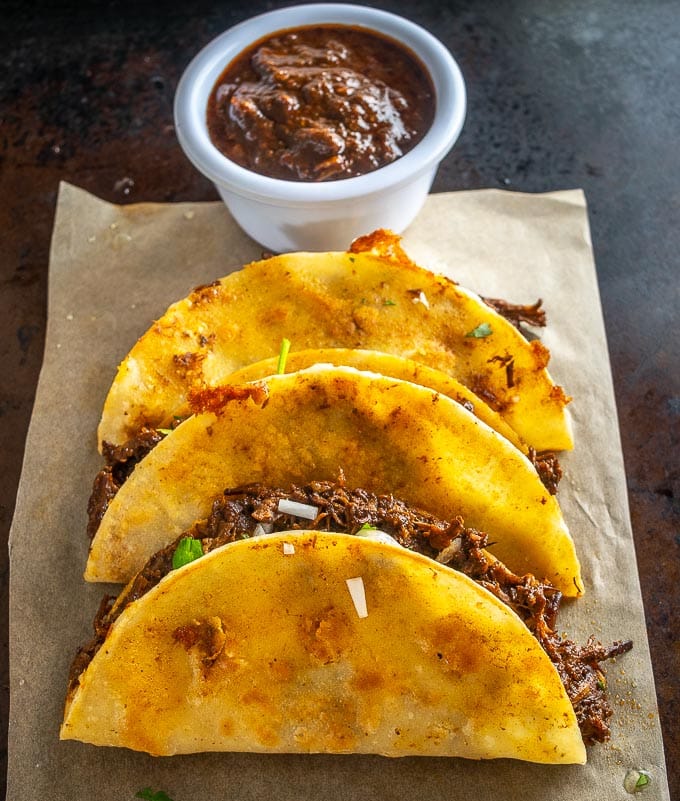
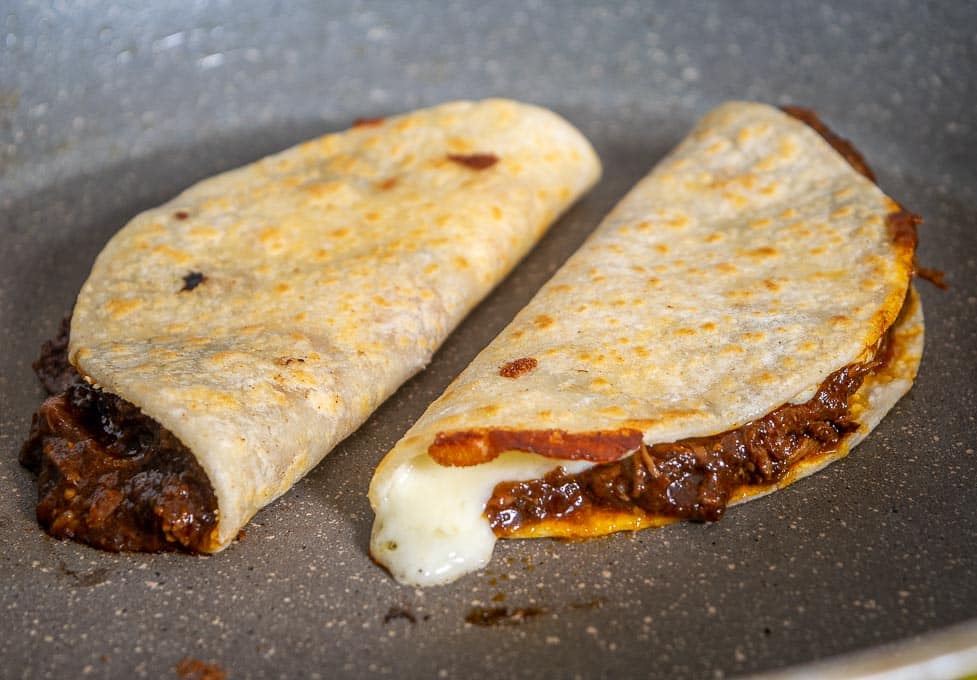
You can use this savory Birria in a wide range of dishes, but crispy, cheesy Birria tacos are finally becoming more common in the States so that's how I served up this batch.
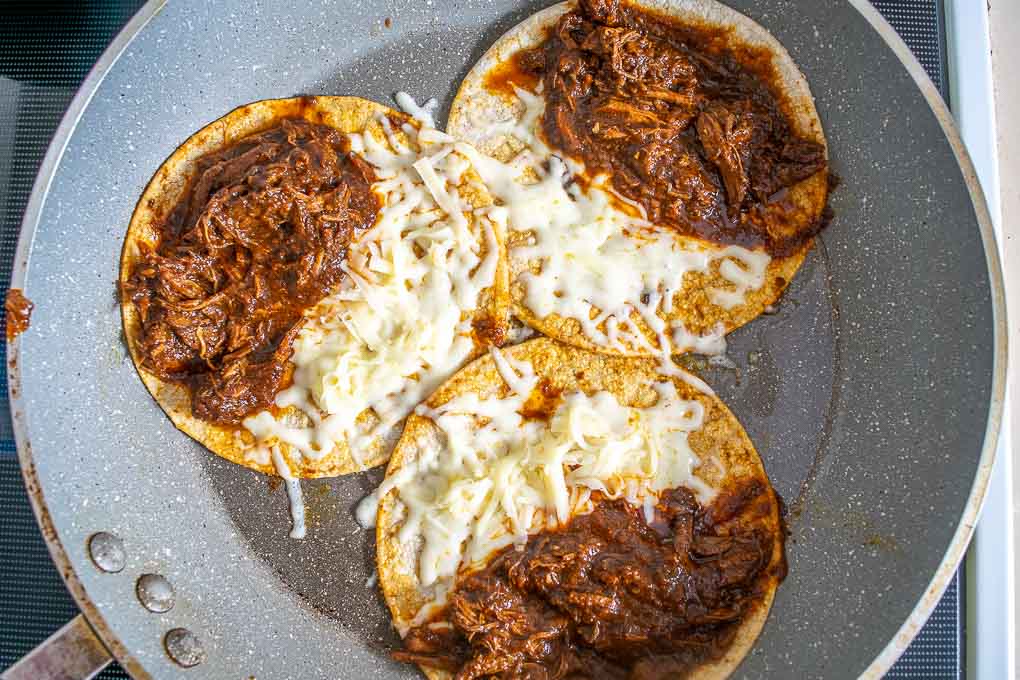
The key to crispy Birria tacos is to let the tortillas cook in some fat BEFORE adding the Birria. I used lard for this batch, but you could also use olive oil or even the fat that's risen to the surface of the stewing pot.
After letting the tortillas crisp up slightly in a thin layer of lard, I added plenty of cheese and Birria to each of them.
Then folded them in half and continued crisping up each side until cooked brown spots were forming on the tortillas.
Once cooked I added raw onion and freshly chopped cilantro to these beauties and served them up next to a ramekin of the Birria sauce for some double dipping.
You'll have loads of the sauce so if you want a goopy batch you can always drizzle more sauce inside or on top of your tacos.
And they were dee-licious 🙂
Okay, I hope this post inspires you to make a batch of Birria! If you have the Holy Trinity chiles on hand then I highly recommend going for it, but don't forget that the traditional Birria recipe is made with more common chiles and it will give you an equally tasty batch.
Buen Provecho.
For up-to-date recipes follow me on Instagram, Facebook, or Pinterest.
Dark Birria
Ingredients
- 3 lbs. chuck roast or beef brisket
- 3 Ancho chiles
- 3 Mulato chiles
- 3-4 Pasilla chiles
- 2 Roma tomatoes
- 1 small onion
- 6 garlic cloves
- 2-3 cups stock
- 1 teaspoon cumin
- 2 teaspoons Mexican oregano
- pinch of ground clove
- 1/8 teaspoon cinnamon
- freshly cracked black pepper
- 2 teaspoons salt (plus more to taste)
- olive oil
For the tacos:
- 10-14 corn tortillas
- 2 cups shredded cheese (I used Jack)
- finely chopped raw onion
- freshly chopped cilantro
- limes
Instructions
- Start by rinsing and de-stemming the tomatoes. Roast them in a 400F oven for 20-25 minutes or until you need them.
- Wipe off any dusty crevasses on the dried chiles. De-stem and de-seed the chiles, but don't worry about getting rid of every last seed. Roast them in the oven for 1-2 minutes or until warm and fragrant. Add the chile pieces to a bowl and cover them with the hottest tap water you've got. Let them reconstitute for 20 minutes or so.
- Roughly chop 1 onion and peel 6 garlic cloves. Add a glug of oil to a skillet on medium heat and saute the onions and whole garlic cloves. Once the onion has softened and lightly browned you can add this mixture to the blender.
- Add a thin layer of oil to a skillet and preheat to medium-high. Chop up the chuck roast into 1-2" chunks and give it a good salting. Sear each side of the beef in the skillet for a few minutes or until it is browning. Add the seared meat pieces to the slow cooker. You can optionally deglaze the pan with the 2 cups of stock that's used to liquefy the sauce.
- Before draining the reconstituted chiles take a taste of the soaking liquid. If it tastes bitter to you then use stock for the sauce. If you like the flavor you are welcome to use the soaking liquid in place of the stock.
- Add the drained chiles, roasted tomatoes, and the onion-garlic mixture to a blender along with: 2 cups of stock (or what you used to deglaze the meat pan), 1 teaspoon cumin, 2 teaspoons Mexican oregano, 1/8 teaspoon cinnamon, pinch of ground clove, 2 teaspoons salt, and some freshly cracked black pepper. Note that you may not need to add as much salt as me if using store-bought stock. Combine well.
- Cover the seared meat pieces with the sauce. Slow cook on low for 4-6 hours. Alternatively, you can simmer the beef on the stovetop, covered, for 2-3 hours or until it is fall-apart tender.
- Once cooked you can optionally skim off any fat that has risen to the surface -- this fat can be used to crisp up the tacos. It's also a good time to take a taste of the sauce and adjust it to your liking. I like having a strong hint of clove and cinnamon in this recipe so I added another pinch of each.
- Shred the beef using two forks and discard any fatty chunks that you don't want to eat. Add the shredded beef (or as much as you are using for tonight's meal) to a separate bowl and add enough sauce to give it a thorough coating. Adding the sauce to the shredded beef is the key so don't skip this step!
- If you'd like to make traditional Birria tacos, the key is to start crisping up the corn tortillas in some fat BEFORE adding the Birria. I used lard, but you could also use olive oil or even the fat that has risen to the surface of your stewing pot. Simply add a thin layer of fat to a skillet over medium heat. Once the fat is heated you can add as many tortillas as the skillet will fit, giving them a minute or so to start crisping up. Then add Birria and cheese to each tortilla, fold them half, and crisp up each side of the tacos until brown spots are forming on the tortillas.
- Serve the tacos immediately with your choice of fixings. I added raw onion and freshly chopped cilantro to the insides of the tacos, and served them next to plenty of the Birria sauce for additional dipping and drizzling. And don't forget a final squeeze of lime!
- Store leftover Birria in an airtight container in the fridge where it will keep for a few days.
Notes
Still hungry?!
Want to receive Mexican Please recipes via email when they are posted? Sign up below to subscribe. All recipes are spam free.



Charles Michael Waddington
Howdy! I was wondering if you have developed a beef consome to be served with this dish? Thank you for your time !
Cheers Chaz
Patrick
Hey Chaz, I don't have an official recipe for this on the site just yet. Cheers.
Charles
This was really amazing. Paired it with homemade tortillas (Masa Harina), and pico de gallo. Used your tip about using fat from the top of the meat pot to cook the tortillas in (added bacon drippings because I needed more fat). My crock pot broke so I cooked this in the Instant Pot on lowest pressure setting for one hour. So good. I'm going to try lots more of your recipes. It's hard to find really great Mexican recipes. There's lots out there that are just OK. Thanks Patrick.
Patrick
Oh nice that sounds like a great meal Charles! I hope you find loads of keeper recipes on my site. Cheers.
Pauline
Hi Patrick, made the peruano beans last night, absolutely delicious! They do increase in size, it’s amazing! Also tried your enchiladas suizas for dinner tonight along with fresh rice and the beans! Your enchilada sauce is lovely! I’ve been trying to find one and I thank you for yours. I found a red sauce but haven’t been able to find a tasty but not too hot, green sauce recipe! Loving your posts and recipes. Thank you for sharing so generously! Pauline.
Patrick
Thanks Pauline! So glad you tried those Suizas as it's one of my favorites on the site. Cheers.
Fred Burton
Looks really interesting and I'll give it a try. If I put my Dutch Oven in the oven...what temperature should I set my oven?
Patrick
Thanks Fred! Low slow cooking is usually around 200F. I would probably notch it upwards if using the oven so somewhere between 200-250F should do the job. Cheers.