
It's rare to find the words easy and tamales in the same sentence, but with a few simple tricks you can make a scrumptious batch of tamales without having to devote an entire day to them.
Making tamale dough AND making a tamale filling sounds like double duty to me, so I usually make a smaller batch of tamales when I have good filling options leftover in the fridge -- things like Tinga, Barbacoa, or home-cooked beans.
This simplifies the process and it just might get you to make tamales more often than once every few years.
Easy Tamales Recipe
I have leftover Chipotle and Cheese Bean Dip in the fridge from last week's post. Perfect! That means we can devote ZERO time to the filling and just focus on the tamale dough. Got any good filling options in your fridge?
Before we start on the dough it's best to get some corn husks soaking in warm water.
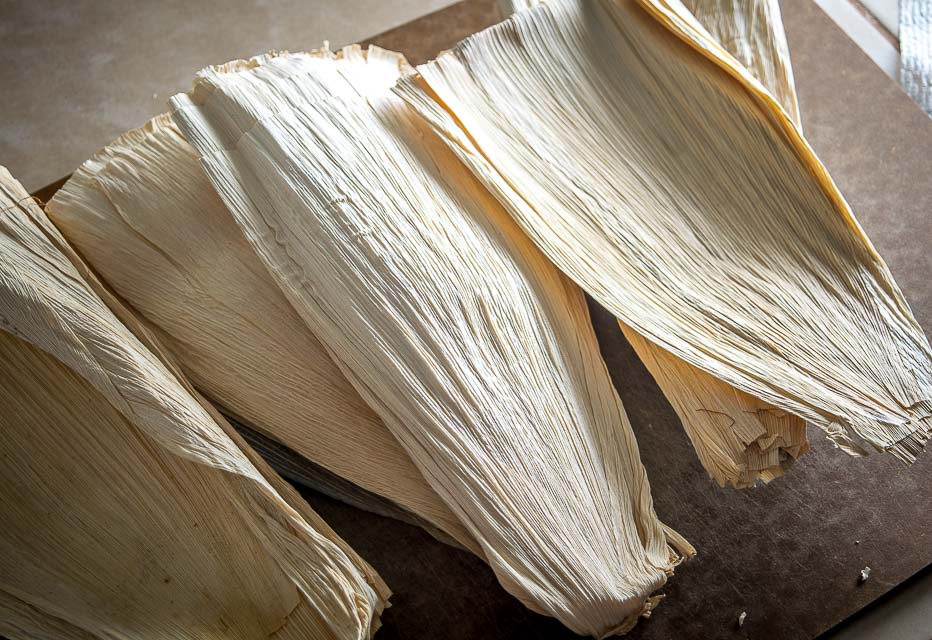
Tamales are traditionally steamed in corn husks or banana leaves, but it's much easier to find the dried corn husks so we'll use those.
Add them to a large bowl and soak them in the hottest tap water you've got -- in about 30 minutes they'll be pliable enough to hug your tamales. If they float to the surface you can use a bowl or plate to keep them submerged. To account for some duds I usually soak twice as many corn husks as I'll need, so about 20 for this batch will do the job.
Okay, let's make some tamale dough...
Tamale dough can be a finicky bird and that's probably another reason people reserve tamales for special occasions. But it's easy once you get the hang of it, so don't sweat it too much if your first go is a bit haphazard.
And as mentioned, we're making a smaller batch here to keep the process as simple as possible. This recipe will make 10-12 tamales.
If you have the option of buying tamale dough from a local Hispanic market then you just simplified things even further! But most of us don't have that option so I'll show you an equally good method to get tamale dough in your kitchen. Note: if you're buying masa or tamale dough from a local Hispanic market, it's best to confirm whether the masa already has lard mixed into the dough. Some markets will sell both plain masa for tortillas (no lard) and masa for tamales (with lard).
For our homemade version, you'll need some of this:
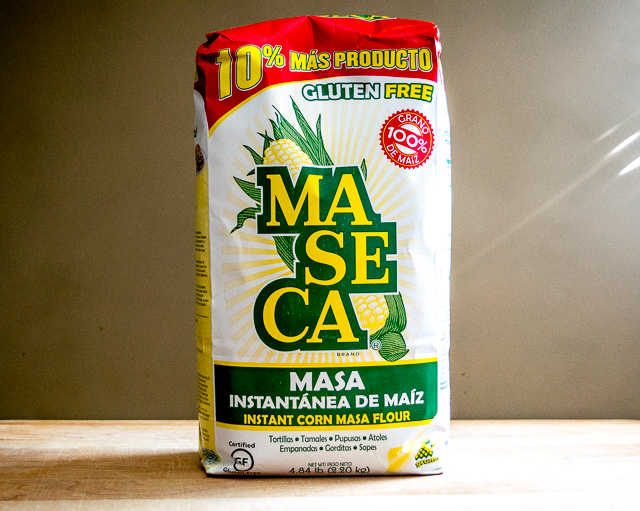
This is Masa Harina, or corn flour, and you can find it in most supermarkets these days, usually in the Latin goods aisle.
And yes, this is the same Masa Harina that you can use to make Homemade Corn Tortillas. It's the dried form of nixtamalized corn; simply add water to reconstitute the corn flour and you've got some high-quality corn dough on your hands.
If you come across Masa Harina that's labeled "for tamales" it usually just means that it has a different consistency, most likely a bit coarser. The Masa Harina for tortillas has a finer consistency and is equally good for making tamales so that's what we're using today.
In a mixing bowl combine:
1.5 cups Masa Harina
1 teaspoon baking powder
1 teaspoon salt
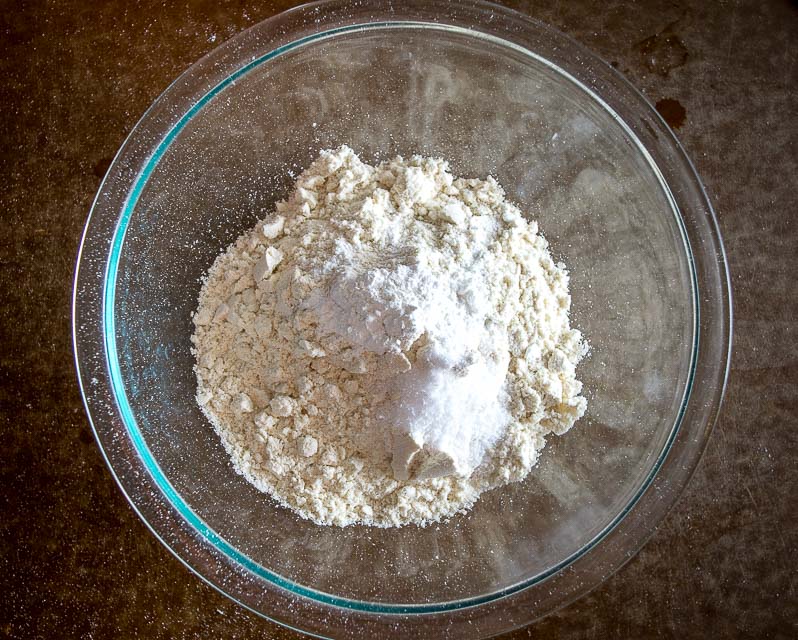
Mix well and then add 1 cup of stock. Roughly combine.
I'm using some Homemade Chicken Stock for this batch and it's unsalted, so if you're using store-bought chicken stock that's high in sodium you might not need to add as much salt.
Your dough will probably look a bit shaggy at this point.
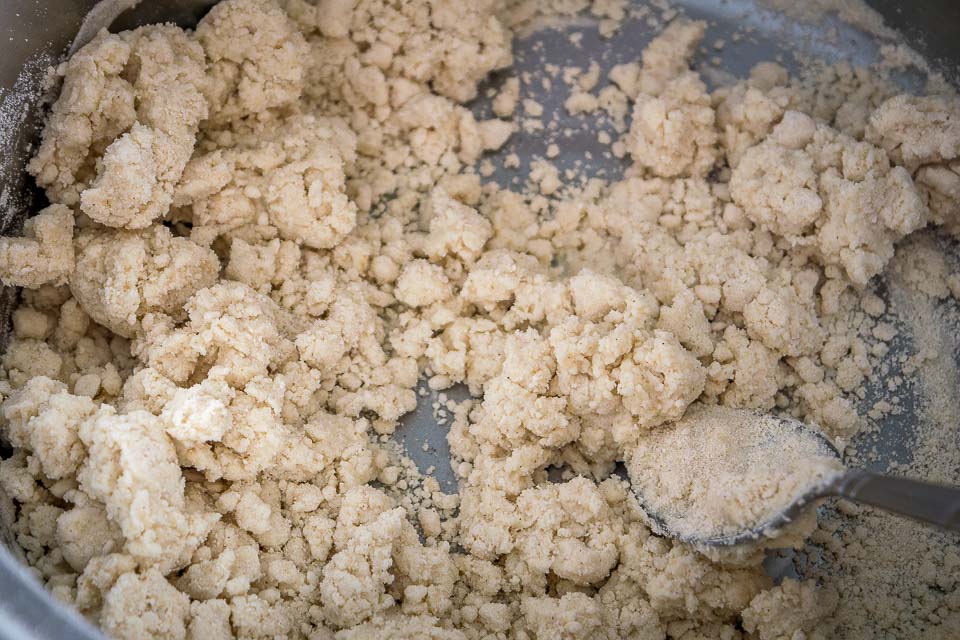
And that's fine. This will combine into a more cohesive dough if you use your hands, but since we're going to use a hand mixer down the road I usually just leave it unkept until I need it.
Okay, let's talk fat!
The main difference between tamales and tortillas is the fat. Tamales traditionally use lard to give them that rich, succulent flavor.
I'm using some home-rendered lard for this batch, but obviously that's not required for this recipe. But it is worth seeking out some higher quality lard at a Hispanic market or your local butcher. I usually stay away from the lard in the baking section of the supermarkets because most of it is hydrogenated.
I'm also going to add a few tablespoons of butter to this batch. I think the butter adds some flava but you can consider it optional. And note that you can get by using vegetable oil as your fat of choice but I'm usually a little disappointed in the flavor of tamales made with oil.
So we'll use 6 tablespoons of lard and 3 tablespoons of butter. (Can I use bacon fat instead of lard?)
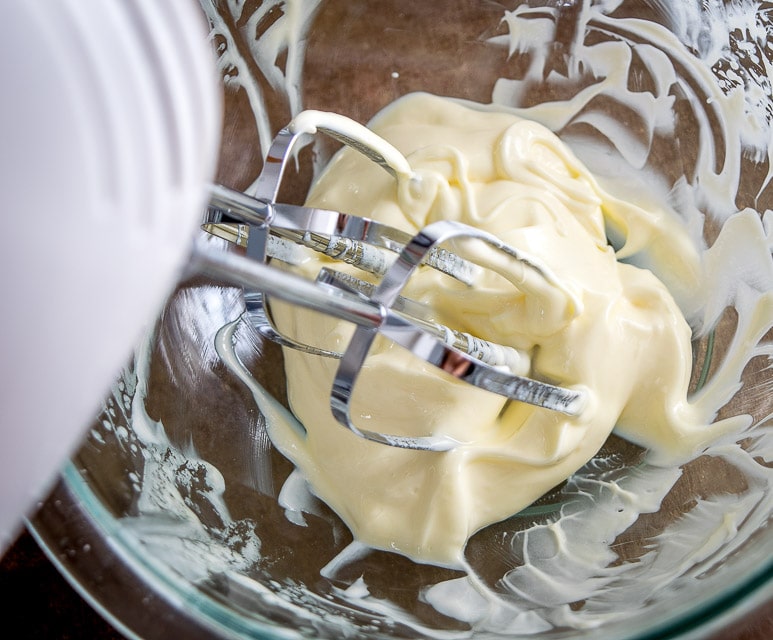
Whipping up the fat is a great trick to keep in mind and should result in a lighter, fluffier tamale dough. I find it's easiest to use a hand mixer on medium-high for a couple minutes. This will put some air in the fat and prevent your tamales from being too dense.
Now we'll start adding some of the shaggy masa dough to this fat. Add half of it and combine with the hand mixer. (Note: you don't need to use a hand mixer but I find it accelerates the process quite a bit.)
Keep some stock close by as you'll probably need to add a few more tablespoons to get it to combine. Mix on medium or medium-low speed.
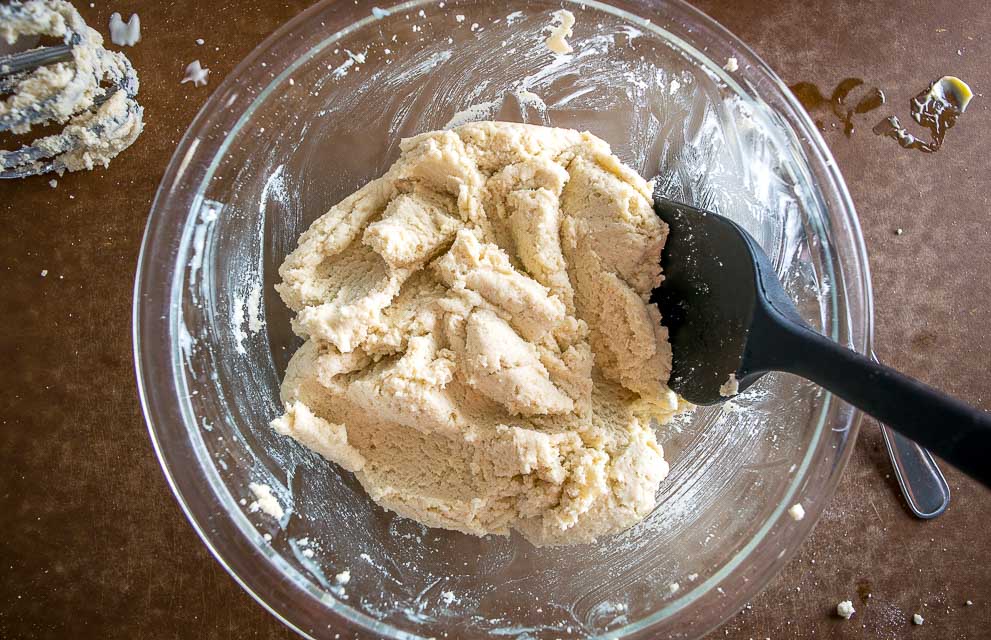
I usually use my hands to get it across the finish line.
Tamale dough is forgiving so don't sweat the exact consistency too much.
As a test, spread some dough in your hand. If it holds its shape without cracking then it's usually good enough. Otherwise, keep adding stock and mixing it further.
Okay, time to drain those corn husks and pat dry a few of them. We'll use the ones that are wider and intact.
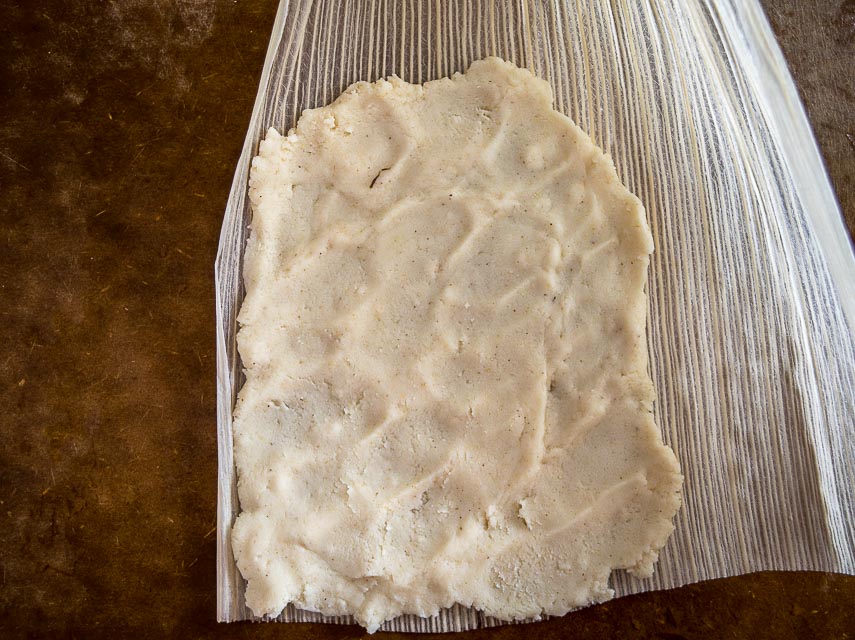
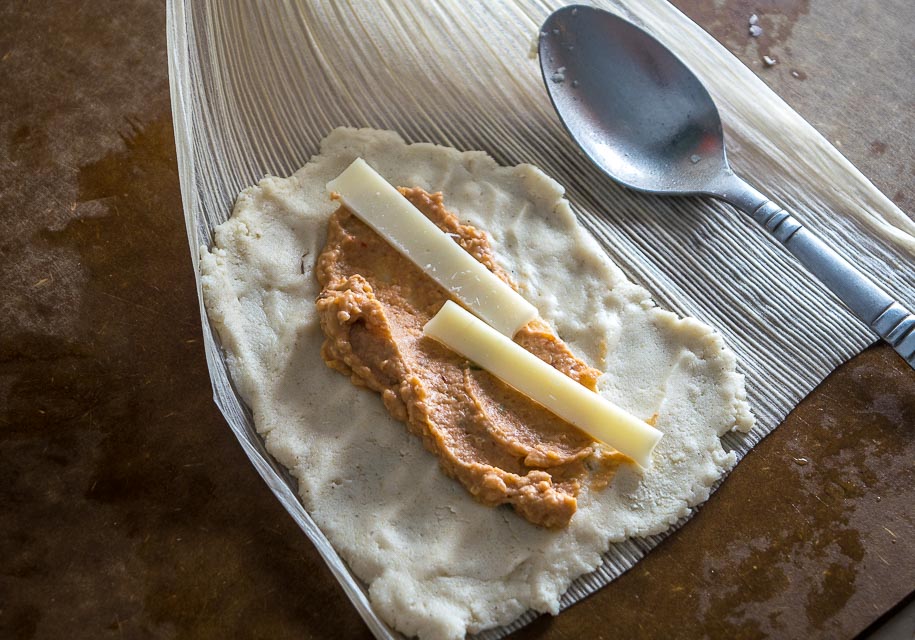
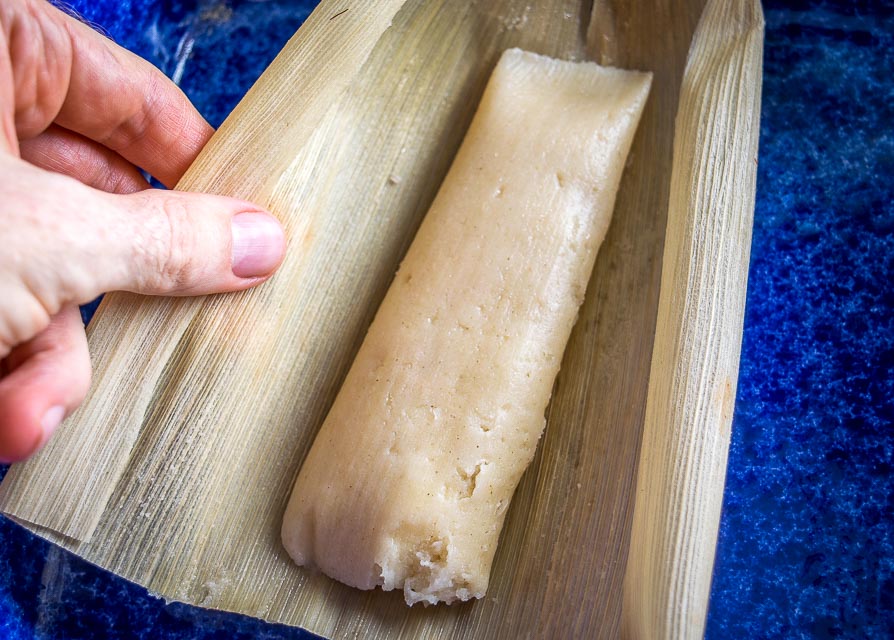
Spread a couple tablespoons of tamale dough on the lower left portion of the husk's wide side, with the tapered end of the husk pointing away from you.
The idea is to favor the left side so you can roll them up easily. You can spread the dough with the back of a spoon, a spatula, or simply use your hands.
I like these tamales best when they have an ample filling-to-masa ratio. In other words, I think they taste best when the masa is thin and there is plenty of filling. To get a layer of super thin masa I find it's easiest to use my hands.
Add a couple tablespoons of filling. We're using Bean Dip and cheese slices for this batch.
Fold the tamale onto itself, sealing the edges so that you have a cocoon of tamale dough surrounding the filling, then wrap the remaining corn husk around the tamale and fold up the bottom portion of the husk.
That's another trick to make the process more efficient. Instead of tying the tamales we're simply rolling them and folding up the bottom portion. Then we'll rest them in the steamer pot with the seam side against the side of the pot so they don't splay open.

So these are open-ended on the top with the bottom portion of the husk folded upwards.
The easiest way to steam them is to plop them on top of a vegetable steamer.
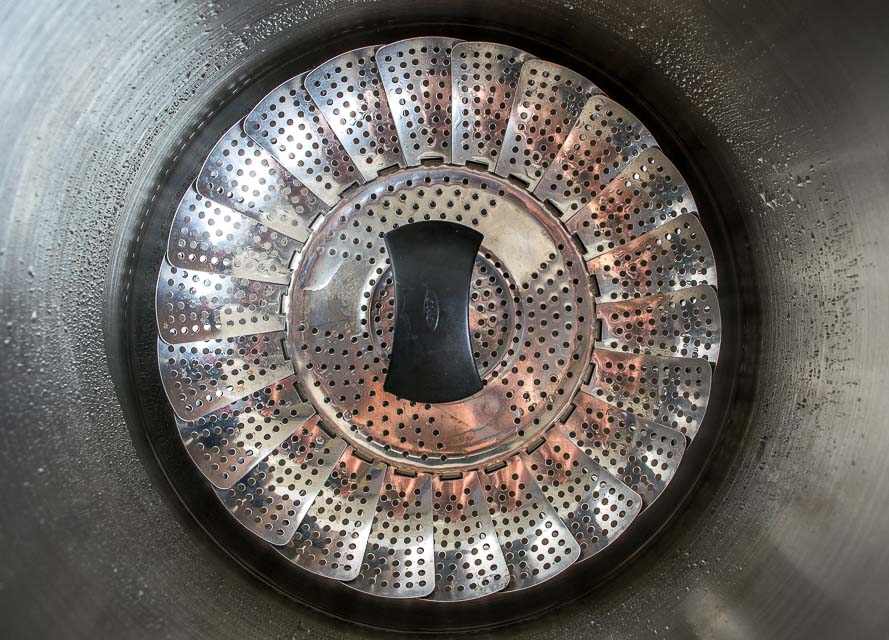
But you can improvise with wire racks or anything that will get the tamales above some steaming water.
I used a stock pot and a vegetable steamer for this batch. Fill the pot with enough water so that it nearly reaches the level of the steamer. This pot has about 1" of water in it.
Bring it to a boil and then reduce heat to mediumish; I used somewhere between medium and medium-high for this batch.
We'll steam the tamales vertically with the open end facing up and the folded portion resting against the side of the pot.
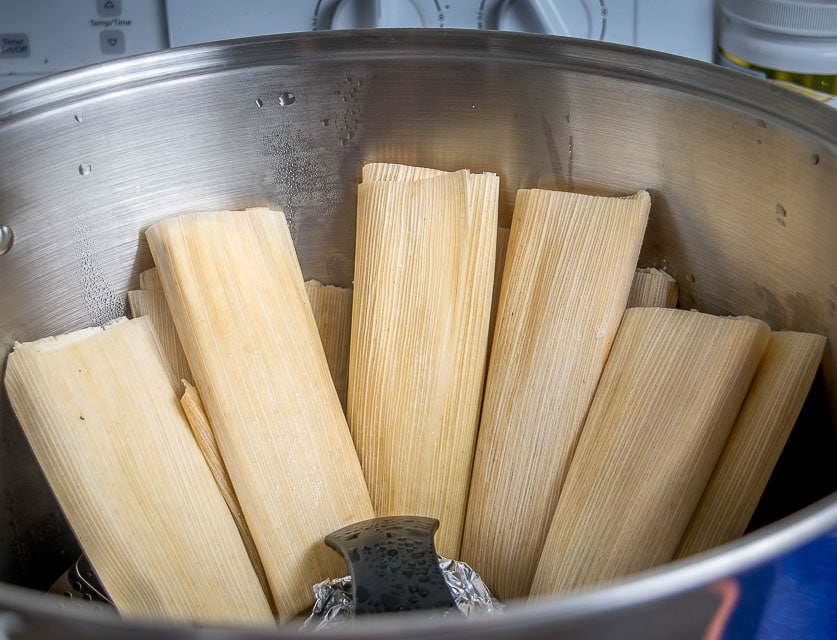
Cover them with any remaining corn husks to prevent water from dripping into the tops.
Cover the pot and steam for 60-75 minutes.
Keep an eye on the pot during the steam to ensure that it always has water in it. If it runs low simply add more water to the pot. I used a larger pot for this batch so I didn't have to add any additional water during the steam.
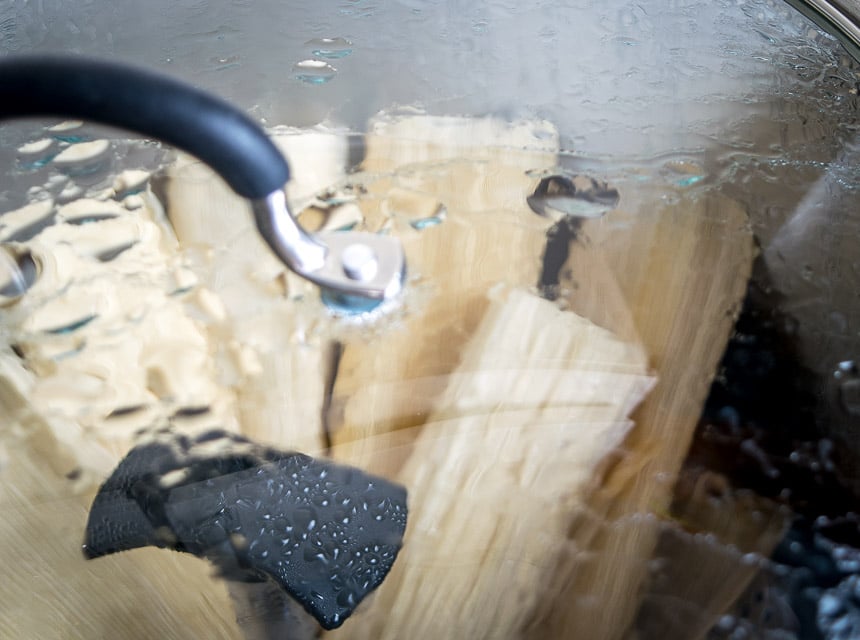
The exact steam time depends a little on your setup.
Start checking on them after an hour. If the husk easily pulls away from the tamale then they are done. If the husk sticks to the tamale then they probably need more time in the steamer.
This batch needed around 80 minutes.
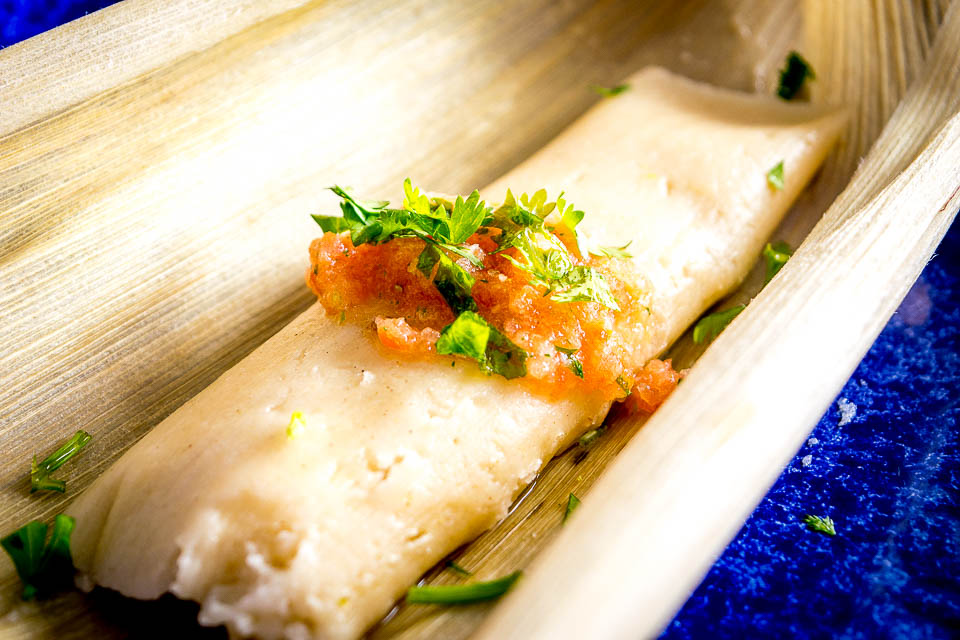
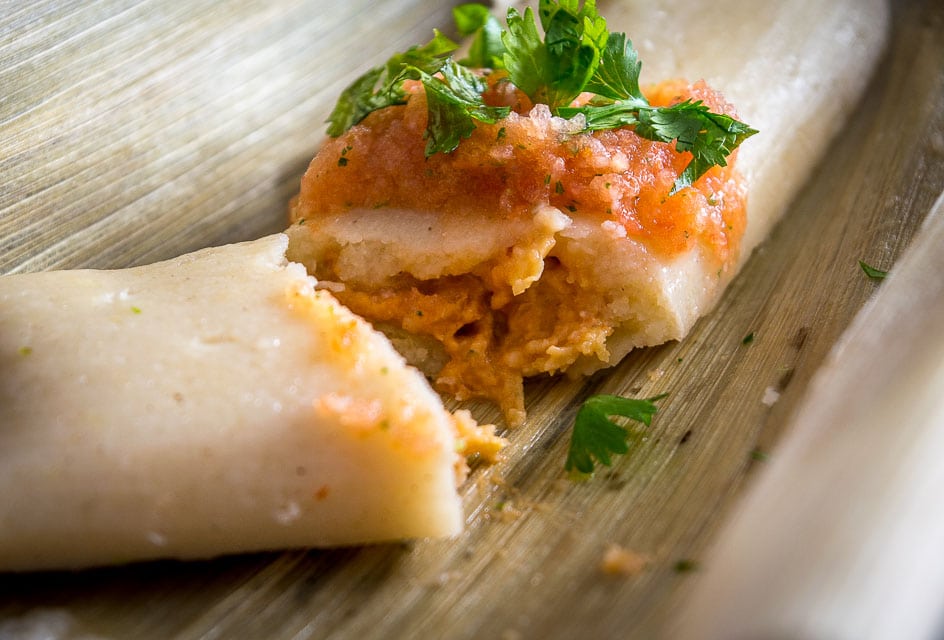
And note that the above tamale is prettier than most of the others in this batch.
If, like me, you make your tamales with a thin layer of masa and a heaping mound of filling then you're going to get some blowouts and visually unappealing tamales.
But they will taste great!
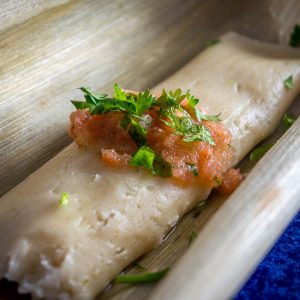
I have some leftover Tomato-Jalapeno Salsa in the fridge. Even better!
I highly recommend serving these up with a homemade salsa if you have the chance. It completes the journey to a different time and place. Plus it makes them taste really good!
Ideally your tamale is light, moist, and a bit fluffy. Whipping up the fat really helps with this so it's worth trying that step with your first batch of tamales.
So what do you think, does it seem doable?!
Tamales are a great dish to add to your arsenal and keep in mind that they are wildly versatile. Once you get comfortable with the tamale dough then you'll come up with all sorts of ways to customize them.
Buen Provecho.
Easy Tamales Recipe
Ingredients
- 1.5 cups masa harina (corn flour)
- 1 cup stock (plus more to combine dough)
- 1 teaspoon salt
- 1 teaspoon baking powder
- 6 tablespoons lard
- 3 tablespoons butter
- 20 dried corn husks
Tamale filling (feel free to customize to your liking):
- 2 cups bean dip
- 1 cup cheese
Instructions
- Start by adding the corn husks to a large bowl and soaking them in the hottest tap water you've got. You can use a bowl or plate to keep them submerged if they float to the surface.
- To make the dough, add 1.5 cups masa harina to a mixing bowl along with 1 teaspoon baking powder and 1 teaspoon salt. Combine well and then add 1 cup of stock, roughly combining into a shaggy dough.
- Add 6 tablespoons of lard and 3 tablespoons of butter to a mixing bowl and let it come to room temp. Use a hand mixer on medium-high to whip the fat to a lighter consistency, approx. 2 minutes.
- Add half of the masa dough to the fat and combine using the hand mixer on medium speed. Add the other half and combine into a cohesive dough. Along the way you might need to add additional stock to get it to combine. I usually end up using my hands to give it a final mix.
- Drain the corn husks and pat dry a few of them. We'll use the husks that are widest and intact.
- Spread 2-3 tablespoons of masa dough on the lower left portion of the husk's wide side. I like these tamales best when the dough layer is super thin and I find that using my hands is the easiest way to get a thin, even layer of dough on the corn husk. You could also use the back of a spoon or a spatula to spread the dough.
- Add 2-3 tablespoons of filling to each tamale. I used bean dip and cheese for this batch.
- Fold the tamale onto itself and seal the edges so that you have a cocoon of tamale dough surrounding the filling. Roll the remaining husk around the tamale and fold the bottom portion of the husk upwards.
- Place a vegetable steamer inside a large pot and fill the pot with enough water to barely reach the level of the steamer. I used a large stock pot with approximately 1" of water in it.
- Bring the water to a boil and then lower heat to mediumish. My stove setting for this batch was between medium and medium-high.
- Stand the tamales up vertically in the steamer, with the open side up and the folded side facing the side of the pot, this will keep them closed as they steam. Cover the tamales with the remaining corn husks to prevent water from dripping into the open ends. Steam for 60-75 minutes. Keep an eye on the pot to ensure that there is always water to steam; if it runs low you can add more. When the husk pulls away readily from the tamale then they are done. Ideally the tamale has a light, moist consistency.
- Serve immediately with your choice of Salsa and sides.
Notes
Still hungry?!
Want to receive Mexican Please recipes via email when they are posted? Sign up below to subscribe. All recipes are spam free.
Brenda Stuart
Flippin:' FANTASTIC!! Your instructions are clear, and easy to follow. I also broke it down into steps throughout the day instead of doing it all at once. These are definitely going to be gracing my holiday (and other meals) table and will share with others atbpotlucjs! They are going to be impressed. So glad I found your site!!! Thank you for sharing with us!
Patrick
Ahh good to know Brenda, so glad these were a hit for you! Cheers.
Amelia
I love tamales! I am gluten and dairy free ( no cheese =( so I have been eyeing recipes for a while. Thanks for your step by step approach, I feel empowered enough to try them soon! I'll let you know what the fam says:)
Patrick
Thanks Amelia!
Franc
Thanks for the easy-to-follow recipe! I used all butter instead of lard and my tamales came out perfect the very first time I made them. Delicioso!
Patrick
Oh score, thanks much for your note!
Honey
This recipe sounds easy and delicious, especially with adding the bit of butter. I'm definitely going to try it. I plan to cook them in my Instant Pot which will cut the steaming time to about 25 minutes.
Thank you for the simplicity of directions and this great recipe.
Patrick
Hi Honey thanks for your note! If you get a chance let us know how this goes. Cheers.
nana
The best Masa dough I have ever made. I used shortening and butter and filled with Hatch chilies and cheese.
Patrick
Oh wow sounds awesome Nana, thanks much for the feedback!
Lee Smith
Love your logic of stepping folks through the recipe from start to taste test T H E N listing the ingredients, cooking temps and even substitute(s) as well difference in taste of each. Awesome and a tip of the Chef Hat with the ladle. You rock!
A USAF retired Computer geek who lives cooking
Patrick
Hey Lee, thanks much for your feedback! Yup that is my site in a nutshell, I'm so glad you are finding it helpful.
Bryan F
Very good - Great, easy recipe!!! I cooked chicken in some salsa verde and chicken broth, so I swapped that for the liquid to mix with the masa. And I used the shredded chicken with some green Chile sauce and a little pepperjack cheese inside. They were a definite hit. Your recipe made 13 - so it yielded just about as much as expected. Thanks for sharing!
Patrick
Oh nice sounds like a tasty batch 🙂
Martha Range
Can hardly wait to try this recipe! Sounds delicious!
Cynthia
Thank you so much Patrick for the easy to follow instructions for the tamales!! I'm going shopping tomorrow and can't wait to see how I do 🤭 But my questions are about the fat or butter ingredients and whipping it I have always cooked n prepared by hand not using food processor n all that so can I mix butter & veggie oil and how much ! What should I watch for to know if it's done? And next the steaming process is there a way to do that without a steamer and can I lay them flat?! Last is there a way to do it in the oven?!(that's out of curiosity 😊!) Thank you!!
Patrick
Hi Cynthia, I hope your tamales turn out well!
I'm not a huge fan of using vegetable oil in tamales but you can probably get away with it since you're using some butter. You can just sub 1:1 veggie oil for lard and go from there.
Yeah there are all sorts of ways you can improvise without a steamer -- the key is to just lift the tamales so they are above the water. Do you have any type of rack that you can put in the pot? You can rest a wire rack on top of a bowl or ramekins to mimic a steamer basket. Laying them flat is fine.
Here are some other creative methods to mimic a steamer although I haven't tried all of these:
https://www.leaf.tv/articles/how-to-steam-a-tamale-without-a-steamer-basket/
And I've been meaning to try an oven version but I haven't yet so I can't give a firsthand report on that one, sorry! But I would think that steaming them in a covered pot in the oven should give a similar result. If you simply bake them then you're risking a dry batch of tamales.
Okay, hope that helps a bit, let me know if you have any other questions. Cheers.
Traci Leonard
Great Job Patrick, Glad to see your time South of the border was enjoyed. Here is a helpful tip, A penny on the bottom of your steaming pot will notify you when you need more water by flopping around making some noise. Helps you stay out of the pot and steam stays in. This really helps out also when your cooking on all burners and even oven. question: My mother would fry her rice dry/rinsed in the minced garlic, onion, bacon/oil' when it got heated and the onions where translucent, then fry rice in the mixture. (Loved her Spanish rice....) So when the rice looked toast not browned she would and water home canned tomatoes and spices.. My question is: have you ever seen it done this way in your travels?
Patrick
Hey thanks for that tip Traci!
Yeah that pilaf style of cooking rice is quite common in Mexico. Our Arroz Rojo uses that technique:
Arroz Rojo
But it doesn't use garlic and onion when first sauteing the rice, instead relying on the tomato puree for the flavor. Those are worthy additions though and I'm sure they will up the flavor a notch if you decide to use them. Cheers.