
If you've got Hatch chiles laying around then please try this Hatch Green Chile Cornbread!
It's an easy recipe and the unique flavor of the green chiles pairs effortlessly with the cornbread.
And if you're new to using Masa Harina in cornbread then you're in for a treat!
How To Make Green Chile Cornbread
Most cornbread will pair cornmeal with flour, but if you replace the cornmeal with Masa Harina you'll get a welcome bump in flavor -- it will have a more potent corn flavor and will just taste better 🙂
I've been using this Masa Harina from Bob's Red Mill for the past few years and really like it:

But any Masa Harina will work for this recipe. Comparing Masa Harina brands. And don't forget that you'll also be able to use that Masa Harina to make some awesome corn tortillas.
As usual, you'll want to start by roasting your Hatch chiles.
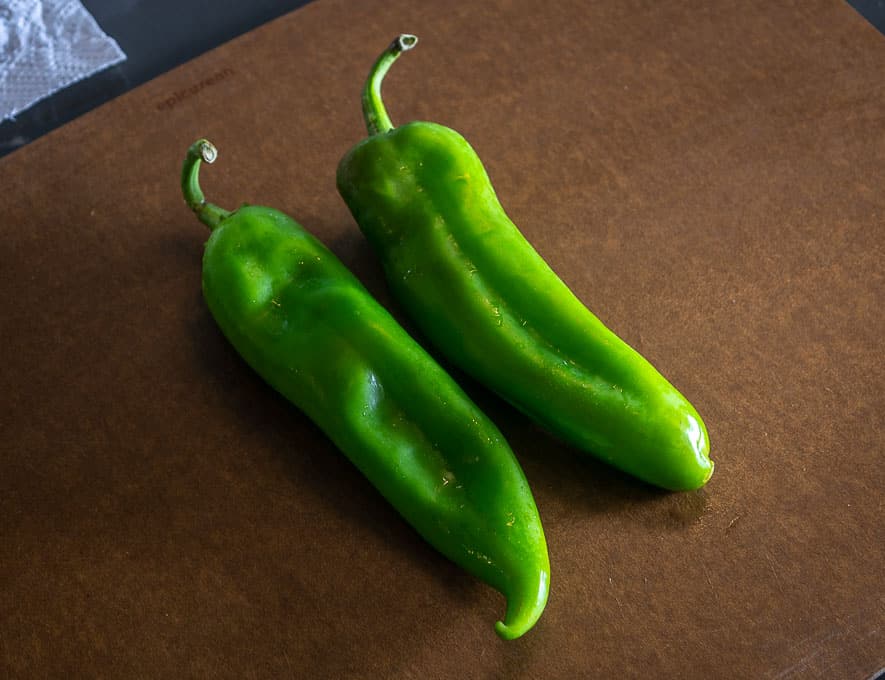
I give them 20-30 minutes in the oven (400F), but you are welcome to roast them with your preferred method. Are Hatch chiles spicy?
Here's how these two looked after 30 minutes:
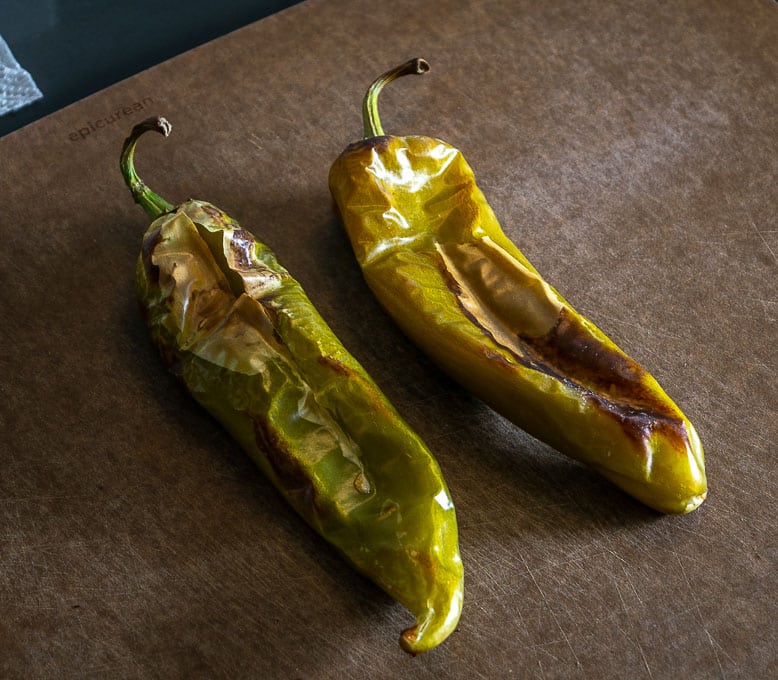
See those puffy bits of skin?
You can peel that off and discard, but don't worry about getting rid of every last bit. The skin won't affect the flavor, but it can be annoying to get a bite full of it.
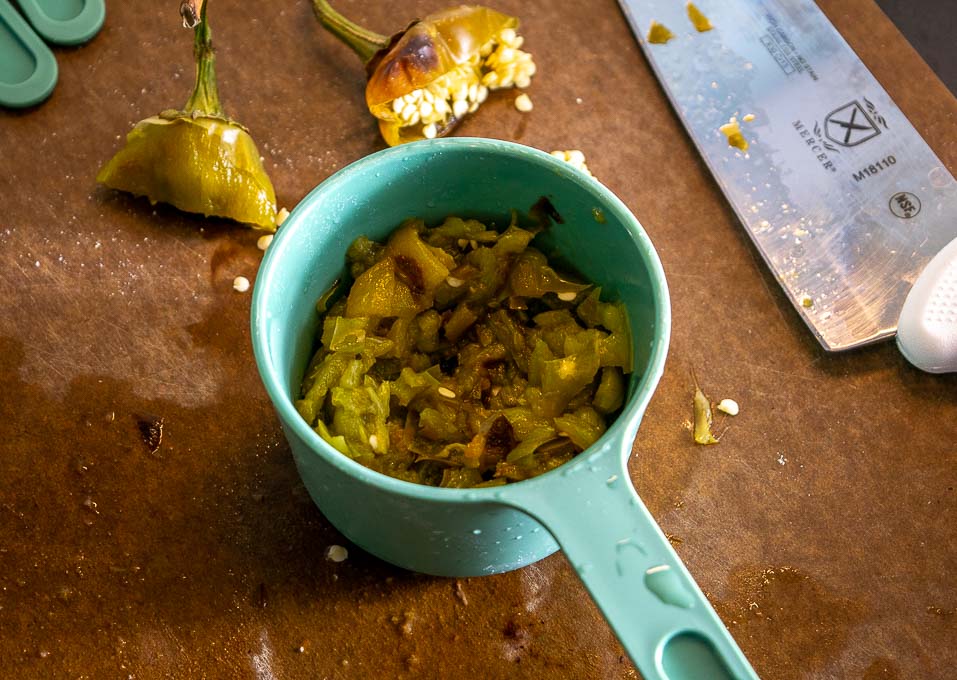
You can also de-stem and de-seed the chiles at this point.
Give 'em a good chop and you'll end up with 1/2 cup worth of roasted Hatch goodness. Perfect!
As you gather the other ingredients you can pre-heat your baking dish in the oven (425F). I'm using the trusty 10" cast iron skillet, but feel free to use any similarly sized baking dish.
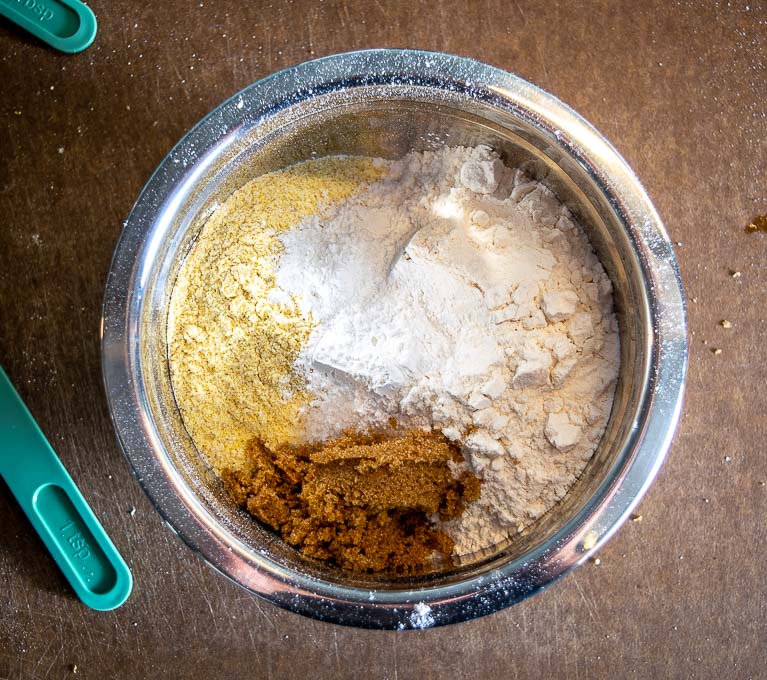
Then gather the dry ingredients in a mixing bowl:
1.25 cups Masa Harina What exactly is Masa Harina?
1 cup all-purpose flour
2 teaspoons baking powder
3 tablespoons sugar (I used brown sugar)
1 teaspoon salt
In a separate bowl, combine the wet ingredients:
2 whisked eggs
1.5 cups milk
2 tablespoons melted butter
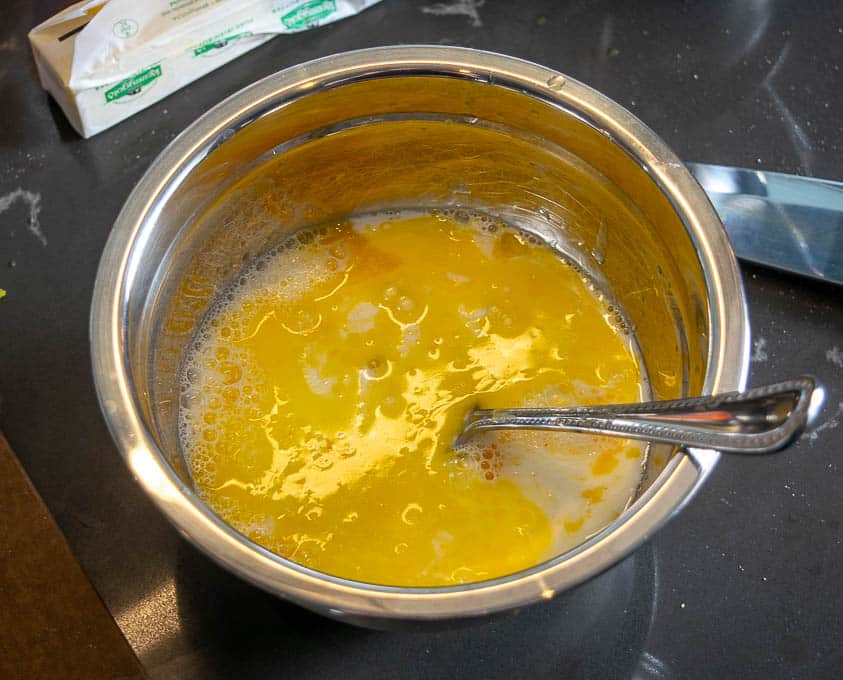
You'll also need a tablespoon of melted butter for the baking dish, so I usually use a separate skillet to melt 3 tablespoons of butter, pouring 2 of those into the wet ingredient bowl and reserving the other for the baking dish.
Combine the wet and dry ingredients, then add the 1/2 cup of chopped Hatch chiles.
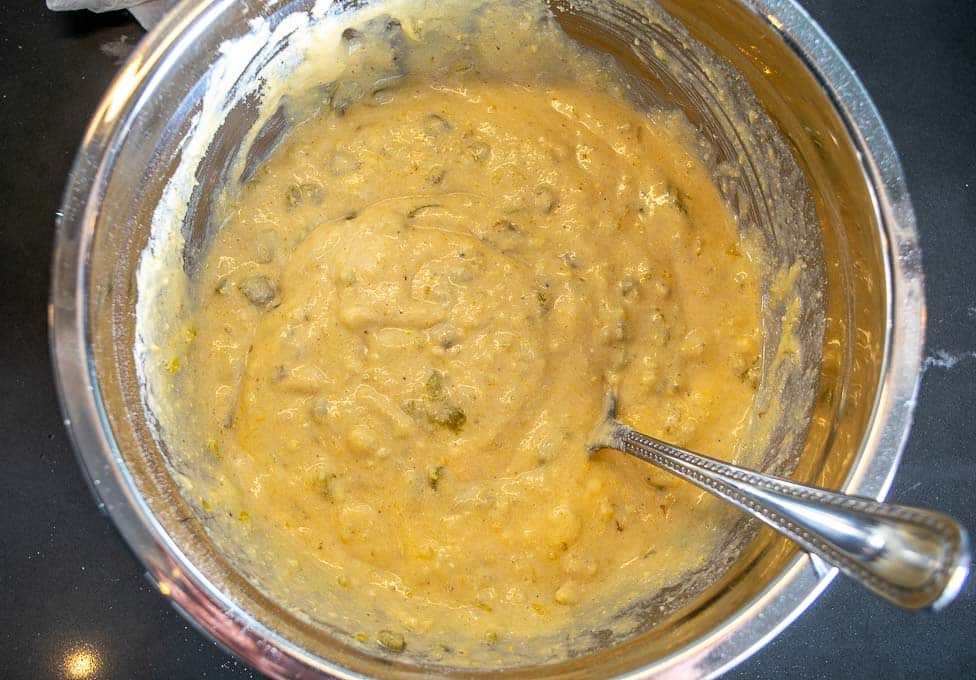
If the batter seems thick you can add another splash of milk. Ideally it will have a consistency that allows it to settle into an even layer on its own.
Add the final tablespoon of melted butter to the pre-heated baking dish, swish it around, and then add the cornbread mixture, forming an even layer.
Note: be sure to use a hotpad when removing the pre-heated baking dish as sometimes the empty pan will trick your brain into thinking it's at room temp! (Or maybe that's just me?!!)
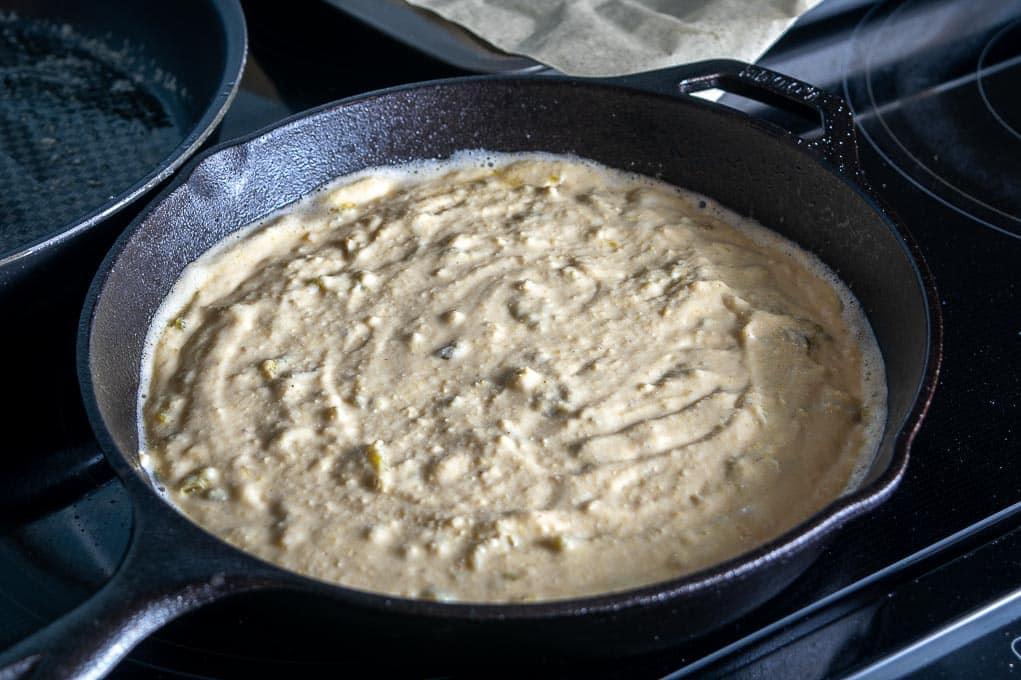
Bake for 20-25 minutes in the oven (425F).
I usually start taking peeks around the 20 minute mark. When the edges are turning darker brown it's done. You can also stick a fork or knife into the middle to test for doneness -- if it pulls out clean then it's ready.
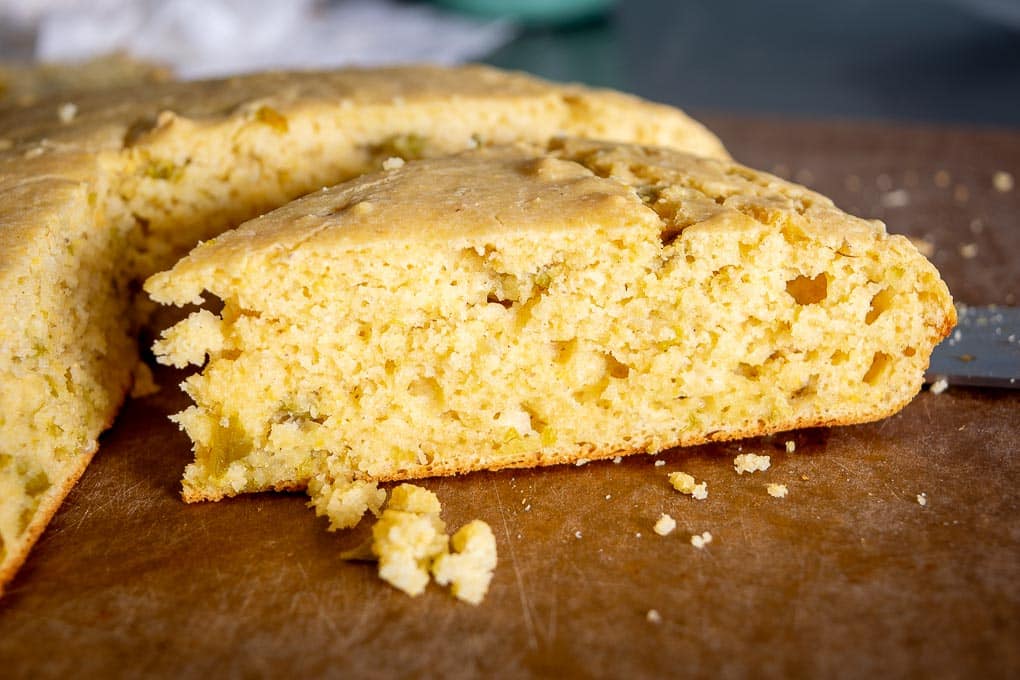
Here's how this batch looked after 23 minutes:
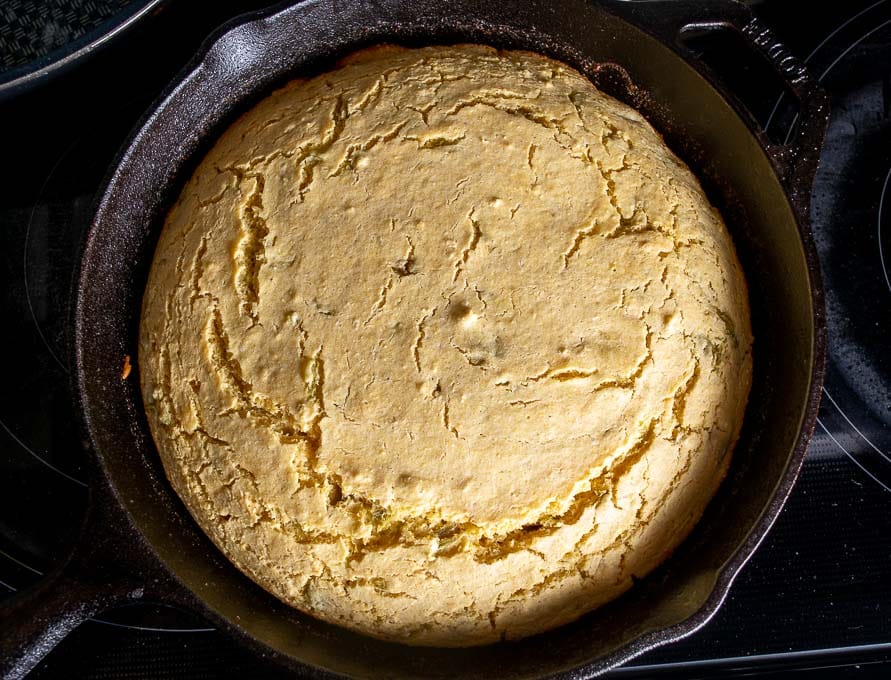
It even looks happy doesn't it?
Let it sit for a couple minutes and then serve it up!
If all went according to plan you've got an ideal partnership between the prominent corn flavor and the subtle Hatch heat.
By the way, I've tried this recipe with double the amount of Hatch chiles (1 cup chopped) and didn't like it as much. I like it best when the Hatch flavor is subtle, but keep in mind that you can always double the Hatch chiles if you want it to be more prominent.
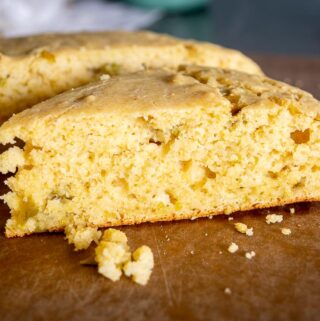
Of course, slicing a piece in half and adding another knob of butter is highly recommended.

This Hatch Green Chile Cornbread is such a welcome addition to my kitchen when there are green chiles laying around, I hope you try it!
But keep in mind that you don't have to wait around for Hatch season just to make this cornbread -- even a simple Masa Harina Cornbread is still delicious. I add chipotles in adobo to that version and you can see it here.
Okay, let me know if you have any questions about this cornbread recipe. It's super easy and will bring loads of happy faces to your kitchen.
Buen Provecho.
Want the latest recipe? Click your favorite from these options and follow me: Instagram, Facebook, Pinterest, TikTok, YouTube.
Hatch Green Chile Cornbread
Ingredients
- 2 Hatch chiles (or 1/2 cup chopped green chiles)
- 1.25 cups Masa Harina
- 1 cup all-purpose flour
- 2 teaspoons baking powder
- 3 tablespoons sugar (I used brown sugar)
- 1 teaspoon salt
- 2 eggs
- 3 tablespoons butter
- 1.5 cups milk
Instructions
- Start by giving the Hatch chiles a good rinse. Then roast them in the oven (400F) for 30 minutes or so. Feel free to roast them with your preferred method.
- When the Hatch chiles are done roasting you can remove them from the oven and let cool for a couple minutes. Then de-stem and de-seed them. You can also peel off and discard any puffy bits of skin. Finely chop the Hatch chile pieces -- you'll end up with 1/2 cup worth.
- Preheat a 10" cast iron skillet or similar sized baking dish in the oven at 425F.
- Add the dry ingredients to a mixing bowl and combine well: 1.25 cups Masa Harina, 1 cup flour, 2 teaspoons baking powder, 1 teaspoon salt, and 3 tablespoons sugar.
- Melt 3 tablespoons of butter: I used a separate, small skillet on the stovetop over medium-low heat. You'll use 2 tablespoons of this for the wet ingredients, with the final tablespoon reserved for the baking dish.
- In a separate bowl combine the wet ingredients: 2 whisked eggs, 1.5 cups milk (I used whole milk), and 2 tablespoons of the melted butter.
- Add the wet ingredients to the dry ingredients and combine well using a spatula or spoon. Add the diced Hatch chile pieces. Combine well. If it seems thick feel free to add another splash of milk. Ideally it has a consistency that allows it to settle into an even layer on its own.
- Add the final tablespoon of melted butter to the pre-heated baking dish and swish it around to coat. Be sure to use a hotpad when pulling the pre-heated baking dish from the oven as sometimes the empty dish will trick your brain into thinking it's at room temp!!
- Add the batter to the baking dish, forming an even layer. Bake for around 20-25 minutes (425F), but I usually start taking peeks at 20 minutes. When the sides are turning darker brown you are mostly there. You can also test it by sticking a knife or fork in the center -- if it pulls out clean then the insides are done.
- Let the cornbread rest in the baking dish on the stovetop for a couple minutes. Then serve it up with an optional slice of butter.
- Store leftovers in a Ziploc in the fridge where it will keep for a few days. Here's my awesome re-heating method: add a slice of butter to a skillet over medium heat. Dredge all sides of a cornbread slice in the melted butter and then cook each side until it is just starting to brown -- it will take a few minutes and this is usually enough to heat it through, plus you get some crispy edges 🙂
Notes
Want to see the latest recipe? It's this Single Serving Arroz con Pollo.

Still hungry?!
Want to receive Mexican Please recipes via email when they are posted? Sign up below to subscribe. All recipes are spam free.
Aaron Cady
Brilliant idea! We loved it.
Patrick
Thanks Aaron!
Patricia Blackburn
Super easy to make and oh so tasty!
Patrick
Thanks Patricia!