
A few months ago I fried up some taco shells at home by dipping corn tortillas in a skillet full of hot oil.
Then I tried baking them instead of frying them, and I haven't gone back to the frying pan since.
You've got lots of options on how to bake a batch, so here are some of the key details to keep in mind if you want a healthier version of the classic hard taco shell.
Baked Taco Shells Recipe
Older tortillas tend to crisp up more readily. If using newer tortillas, let them dry out on the counter for a bit before putting them in the oven.
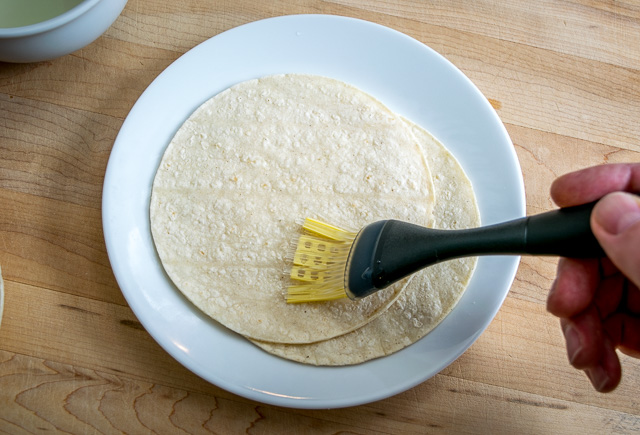
Then the idea is to give them a light coating of oil and use the oven rungs to give them shape as they crisp up.
For the oil, you can either use cooking spray or you can brush on some neutral vegetable oil. I brushed on some canola oil for this batch.
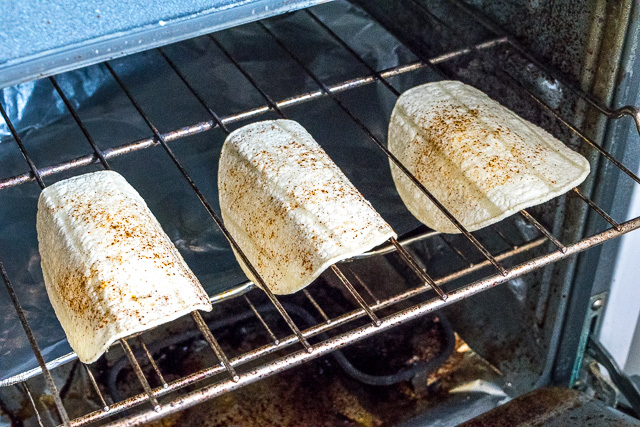
These tortillas then get draped over two rungs in the oven.
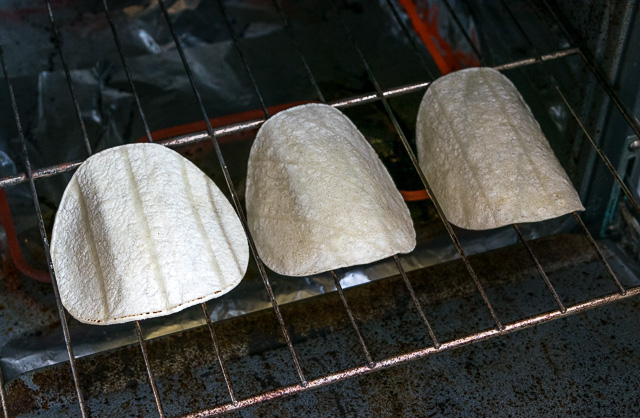
They'll bow awkwardly at first but over time the sides will drop.
10 minutes later at 375F they'll look like this:
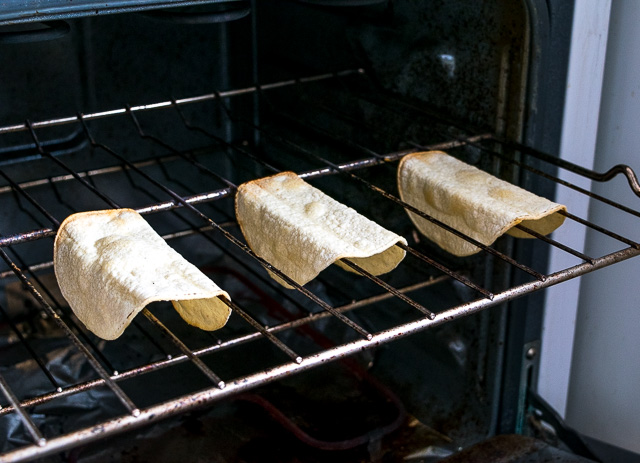
See the light browning on the edges? That's probably when you want to take out your first batch.
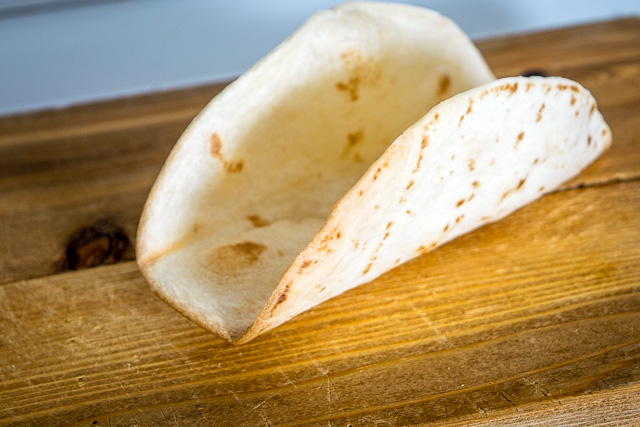
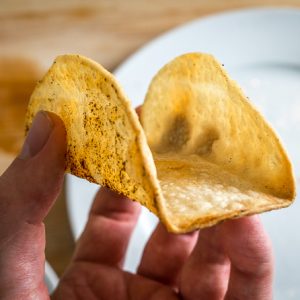
10 minutes at 375F will give you a shell that has crispy edges but is still pliable in the middle.
12-13 minutes at 375F will give you a shell that is crispier but at the expense of being a little drier.
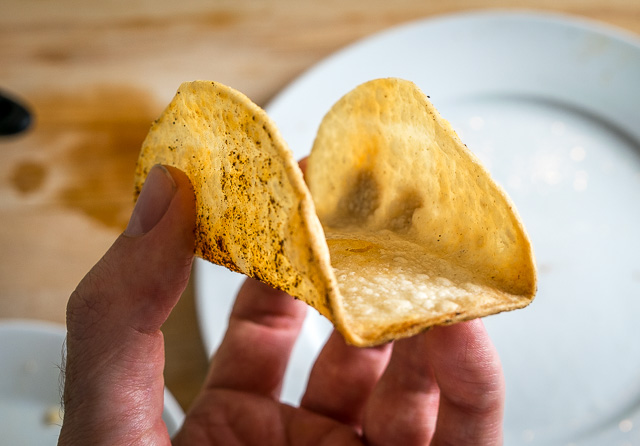
I like the crispy but slightly pliable version best and usually default to that, but your taco shell mileage may vary.
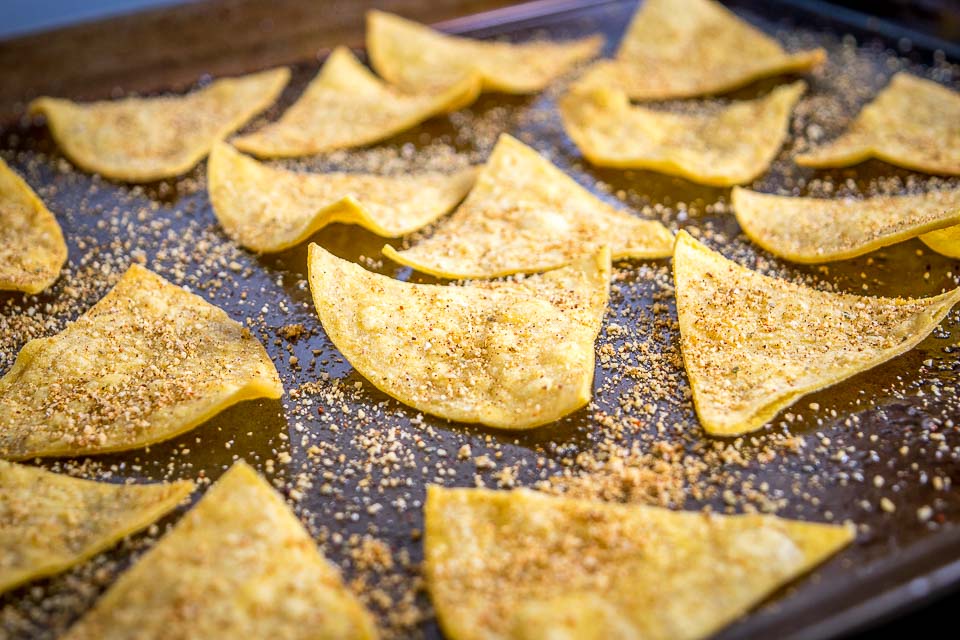
It's also easy to give them a hint of flavoring if you want.
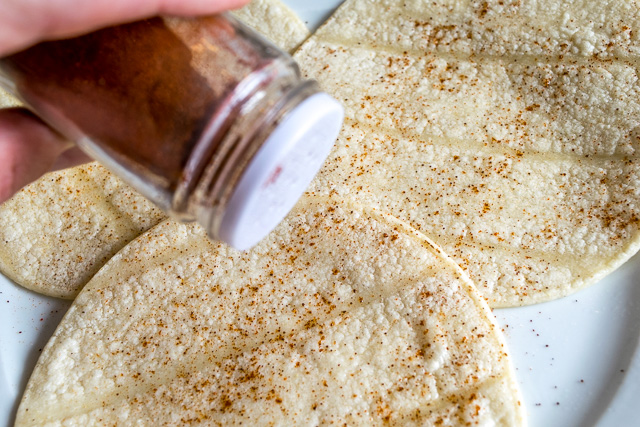
A shake of chipotle powder (or regular chili powder) along with a dash of salt is a good option to liven them up a little.
Put the flavored side up when baking as that will be the outside of the final product.
And for the Chili-Lime addicts out there, I had the same impulse and thought that a Chili-Lime coating would be the perfect hint of flavor on these shells.
After spreading some lime juice and chili powder on them and baking for 10 minutes they were absolutely......disappointing. The lime juice combined with oil gave them an odd flavor and they didn't really crisp up. Bummer!
OK, a couple more things to keep in mind.....
The crispy yet pliable version is best eaten as soon as possible. If they sit on the table for awhile they'll get chewy. Luckily you can always pop them back in the oven for 30-60 seconds and this brings them back to life.
If you are making a big batch it's probably best to put a roasting pan or sheet underneath them in the oven as they will drip a bit.
And to answer a last possible question...Will this work on flour tortillas?
While it may look appetizing, the flour tortilla tasted a bit pastry-like after baking and didn't really crisp up. No bueno.
OK, got your freshly baked batch of hard taco shells handy?
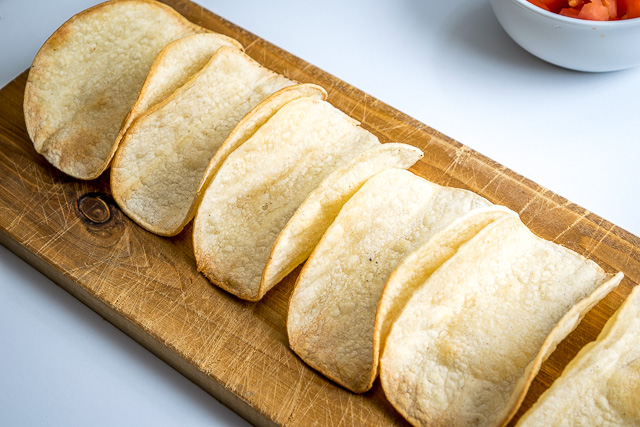
Now the best part.....deciding what to put in them. We made Classic Ground Beef Tacos out of this batch. Yum!
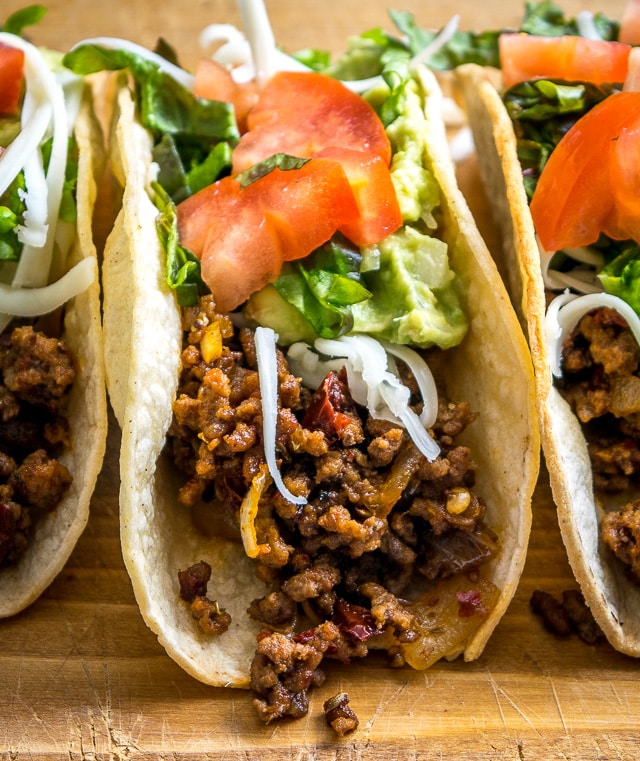
Buen Provecho.
For up-to-date recipes follow me on Instagram, Facebook, Pinterest, TikTok, YouTube.
Baked Taco Shells Are Just as Good as Fried
Ingredients
- 6-8 corn tortillas
- oil (or cooking spray)
- chili powder (optional)
- salt (optional)
Instructions
- Brush a light coating of oil onto the tortillas (or use cooking spray).
- If you want to give them some flavoring, add dashes of chili powder and salt.
- Place each tortilla over two oven rungs. (You can optionally place a roasting pan or foil on a lower rack to catch any oil dripping down.)
- Bake for 10 minutes at 375F for a crispy but pliable version.
- Bake for 12-13 minutes for a crispier version.
- Serve immediately.
Notes
You can use a similar technique to make a batch of Baked Tortilla Chips.
Still hungry?!
Want to receive Mexican Please recipes via email when they are posted? Sign up below to subscribe. All recipes are spam free.
Sally
I cant eat fried foods so this is heaven sent for me. A little sea salt and Im good to go!
Patrick
Thanks much Sally, so glad these are keepers for you! Cheers.
tom bouton
very good
Kibo
Just tried this and loved it! So easy and crispy
Patrick
Thanks Kibo!
Natalie Shellhouse
I like the whole concept of baking these into taco shell shape and they worked pretty good, however, you REALLY should have told your readers to line their oven bottoms with foil or a cookie sheet. What a mess the dripping oil made in the bottom of my oven. I really wish someone else had commented on this.
Patrick
Hi Natalie! This is already mentioned in both the body of the post and in the recipe box, but I will see if I can make it more prominent. Cheers.
Susan Carneal
She did...😉
“Depending on how much oil you use, they might drip a little. You can optionally use a roasting pan or foil on a lower rack to catch the oil if you want”
Margaret
Oil side up or down in the oven?
Patrick
Hi Margaret, lately I give a light brushing to both sides. Cheers.
Norma
How do you feel and eat without break them? Ours came out good just have not filled them yet. Did not want to fry them
Teresa
For the chili/lime idea- maybe try mixing garlic salt, chili/Chipotle powder and lime ZEST together and then sprinkle on the outside. I haven't tried it- but it might be worth the experiment.
DOYLE
I just tried this. It worked perfectly. Very innovative. Thank you for posting this. I made baja fish tacos with fresh Alaska halibut I caught yesterday. Hope that makes you jealous.
Patrick
Why yes, yes it does make me jealous 🙂
Patrick Q Devaney
I forgot that ovens may vary. Doy! Mine were closer to 6 min. but worth it.
Tess
Ingenious. Just think that for years I’ve been trying to AVOID them hanging over the rungs. Try Trader Joe’s Chile Lime Seasoning Blend. (I see there’s a Trader Joe’s in Vancouver).
Patrick
Ha thanks Tess!
Donald D Cogger
!0 minutes at 375 was way to crunchy for me. Finally got a good one at 4 minutes and no cracking 🙂